
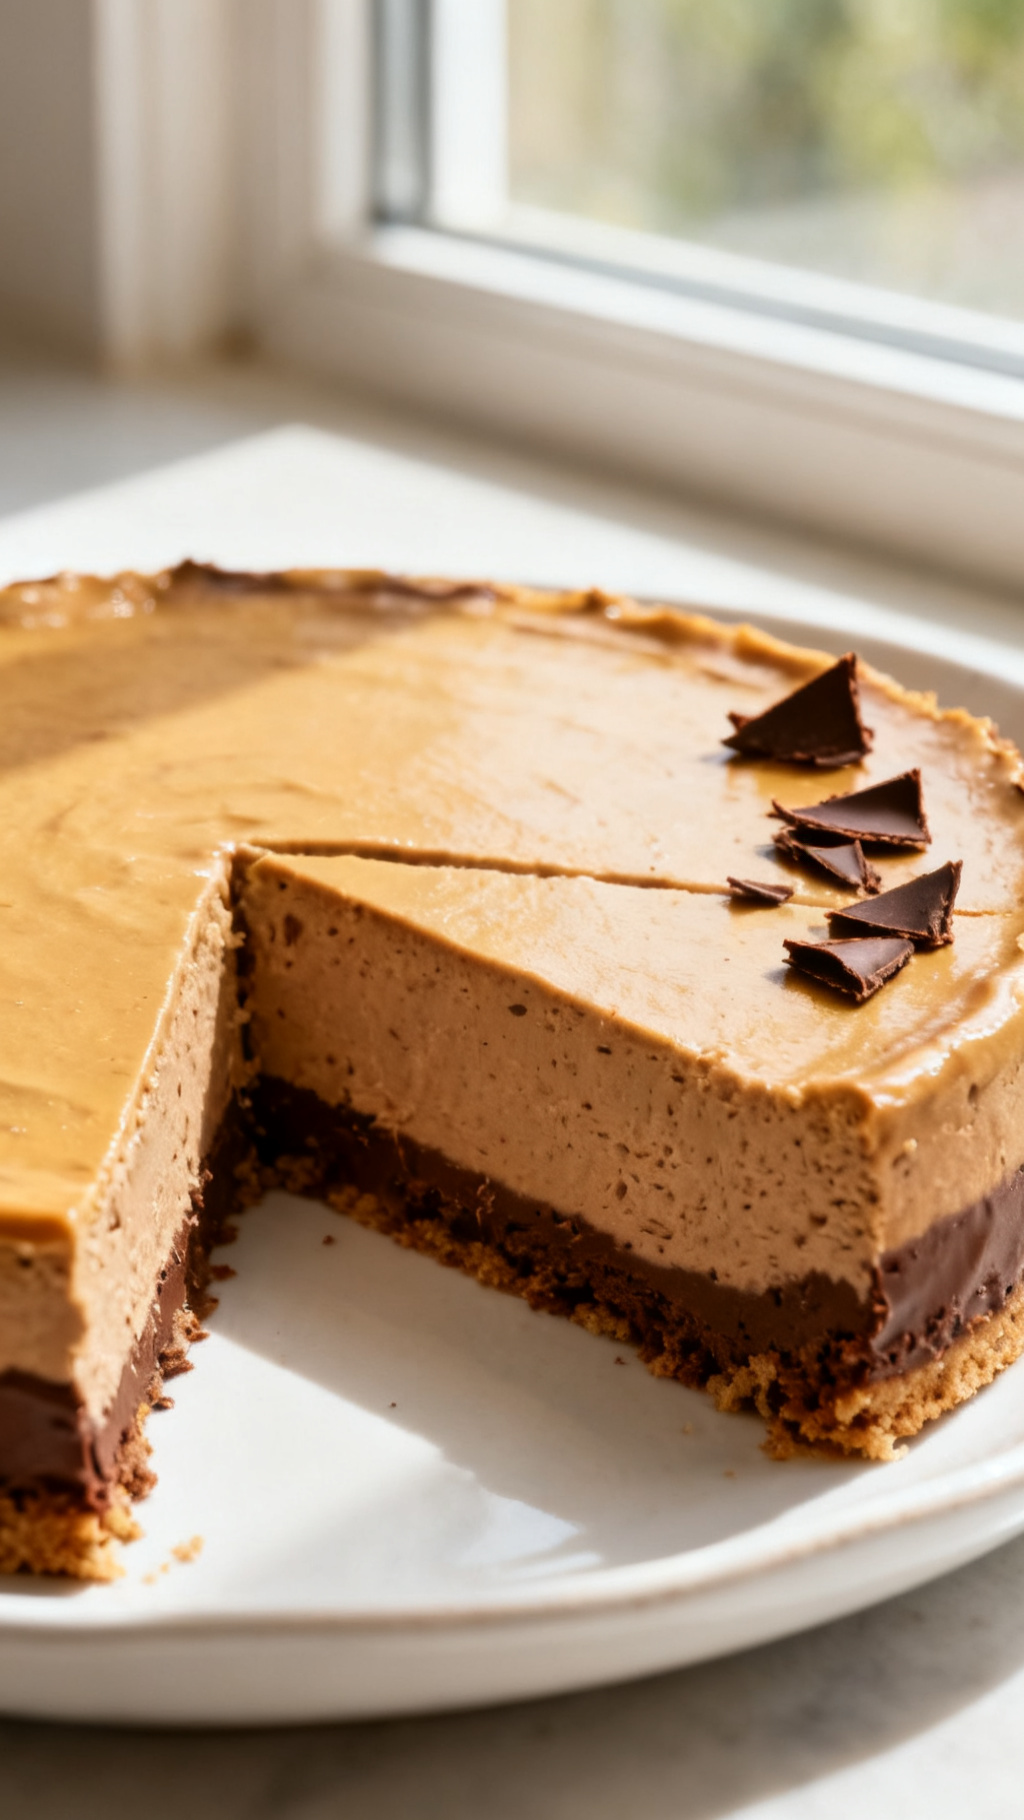
How to Make a No-Bake Nutella Cheesecake
I’ve made this no-bake Nutella cheesecake more times than I can count, perfecting every step to get the right creamy texture and rich flavor. After years of experimenting, I finally nailed an easy recipe that anyone can replicate at home without an oven.
How to Make a No-Bake Nutella Cheesecake

Ingredients
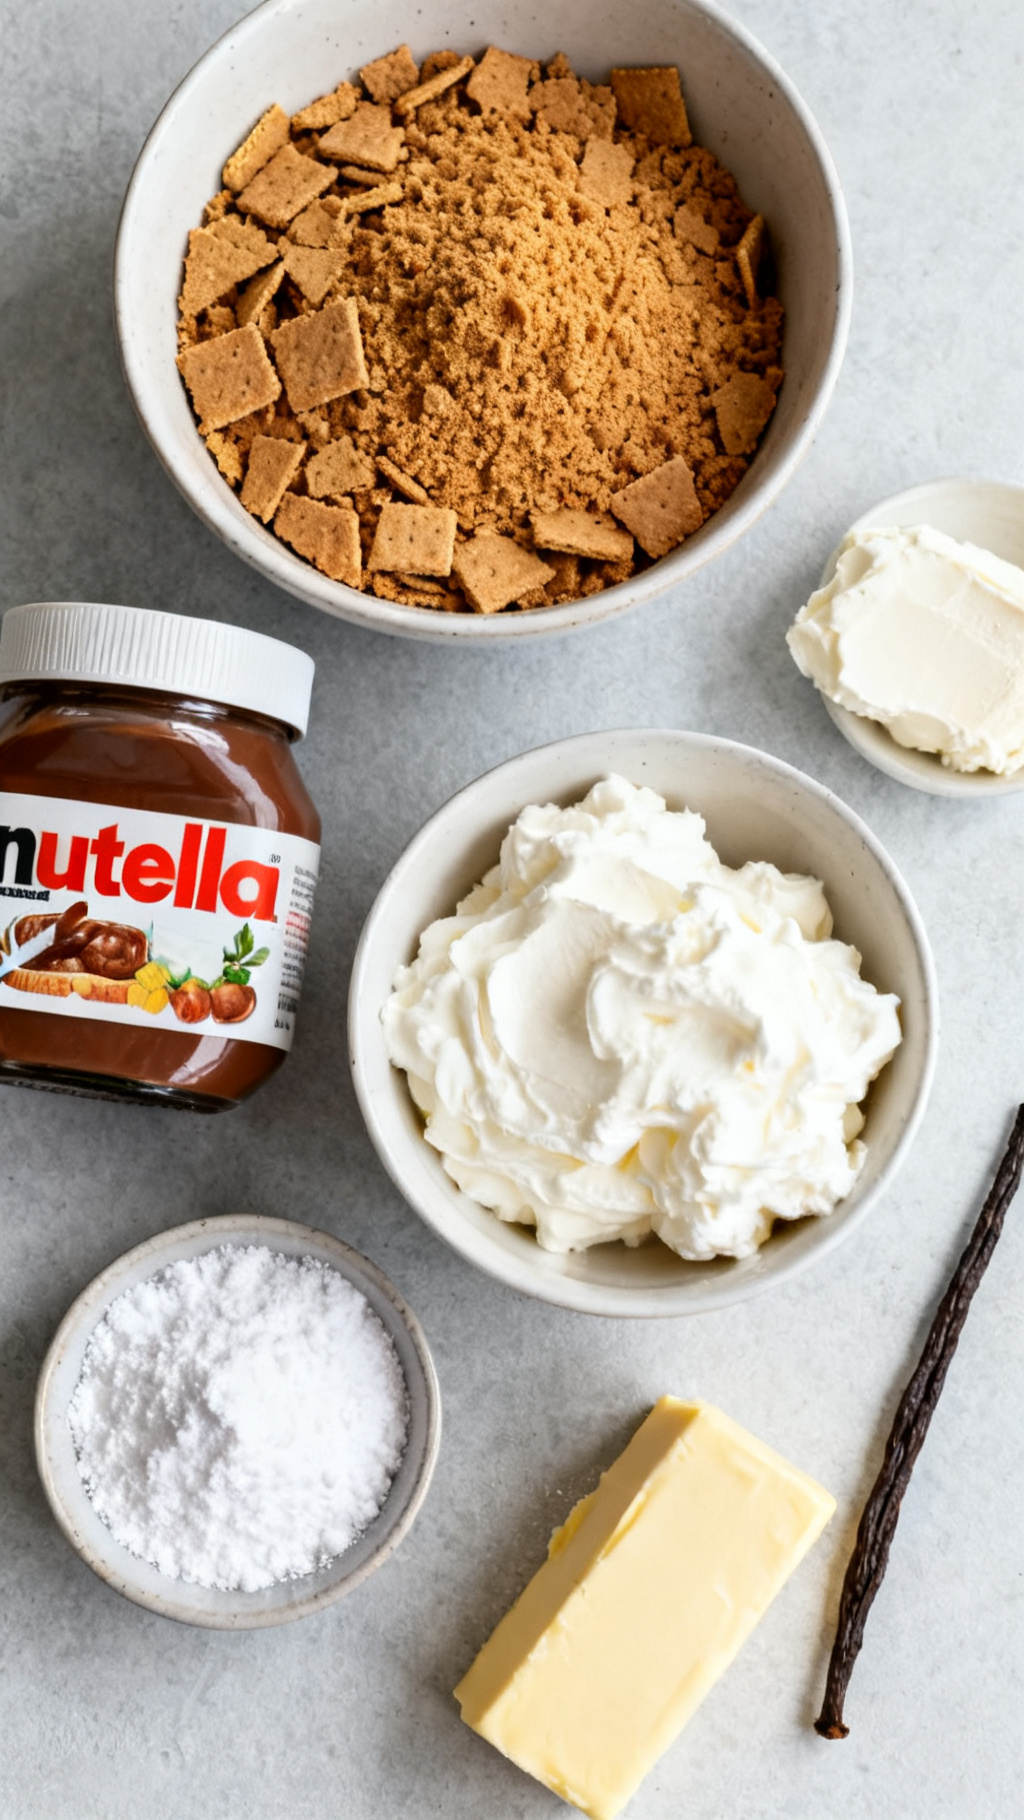
- 1 1/2 cups graham cracker crumbs
- 6 tablespoons unsalted butter, melted
- 16 ounces cream cheese, softened
- 1 cup Nutella
- 1 cup heavy whipping cream, chilled
- 1/2 cup powdered sugar
- 1 teaspoon vanilla extract
- Pinch of salt
Instructions
- 1. Prepare the crust by mixing graham cracker crumbs with melted butter until evenly coated; I always press it firmly into the bottom of a 9-inch springform pan to create a solid base.
- 2. Refrigerate the crust for at least 30 minutes to allow it to set well before adding the filling.
- 3. In a large bowl, beat the softened cream cheese with powdered sugar and a pinch of salt until smooth and creamy; I find using an electric mixer at medium speed works best.
Key Takeaways
- Use softened cream cheese for smooth blending
- Chill the crust for at least 30 minutes before filling
- Incorporate Nutella gently to keep the texture light
- Allow the cheesecake to set overnight for best flavor
Why This Recipe Works
I always recommend using room-temperature cream cheese because it blends effortlessly with Nutella, creating a silky smooth filling. The no-bake aspect keeps the cheesecake light and creamy, which I find far more enjoyable than heavy baked versions.
Pro Tip: Soften cream cheese fully before mixing for a lump-free filling
What Makes It Special
In my experience, Nutella adds a unique hazelnut-chocolate twist that pairs perfectly with the mild cheesecake base. The graham cracker crust adds a subtle crunch that balances the creamy texture beautifully.
Fact: Nutella was first introduced in the 1960s as a sweet chocolate spread
My Secret Technique
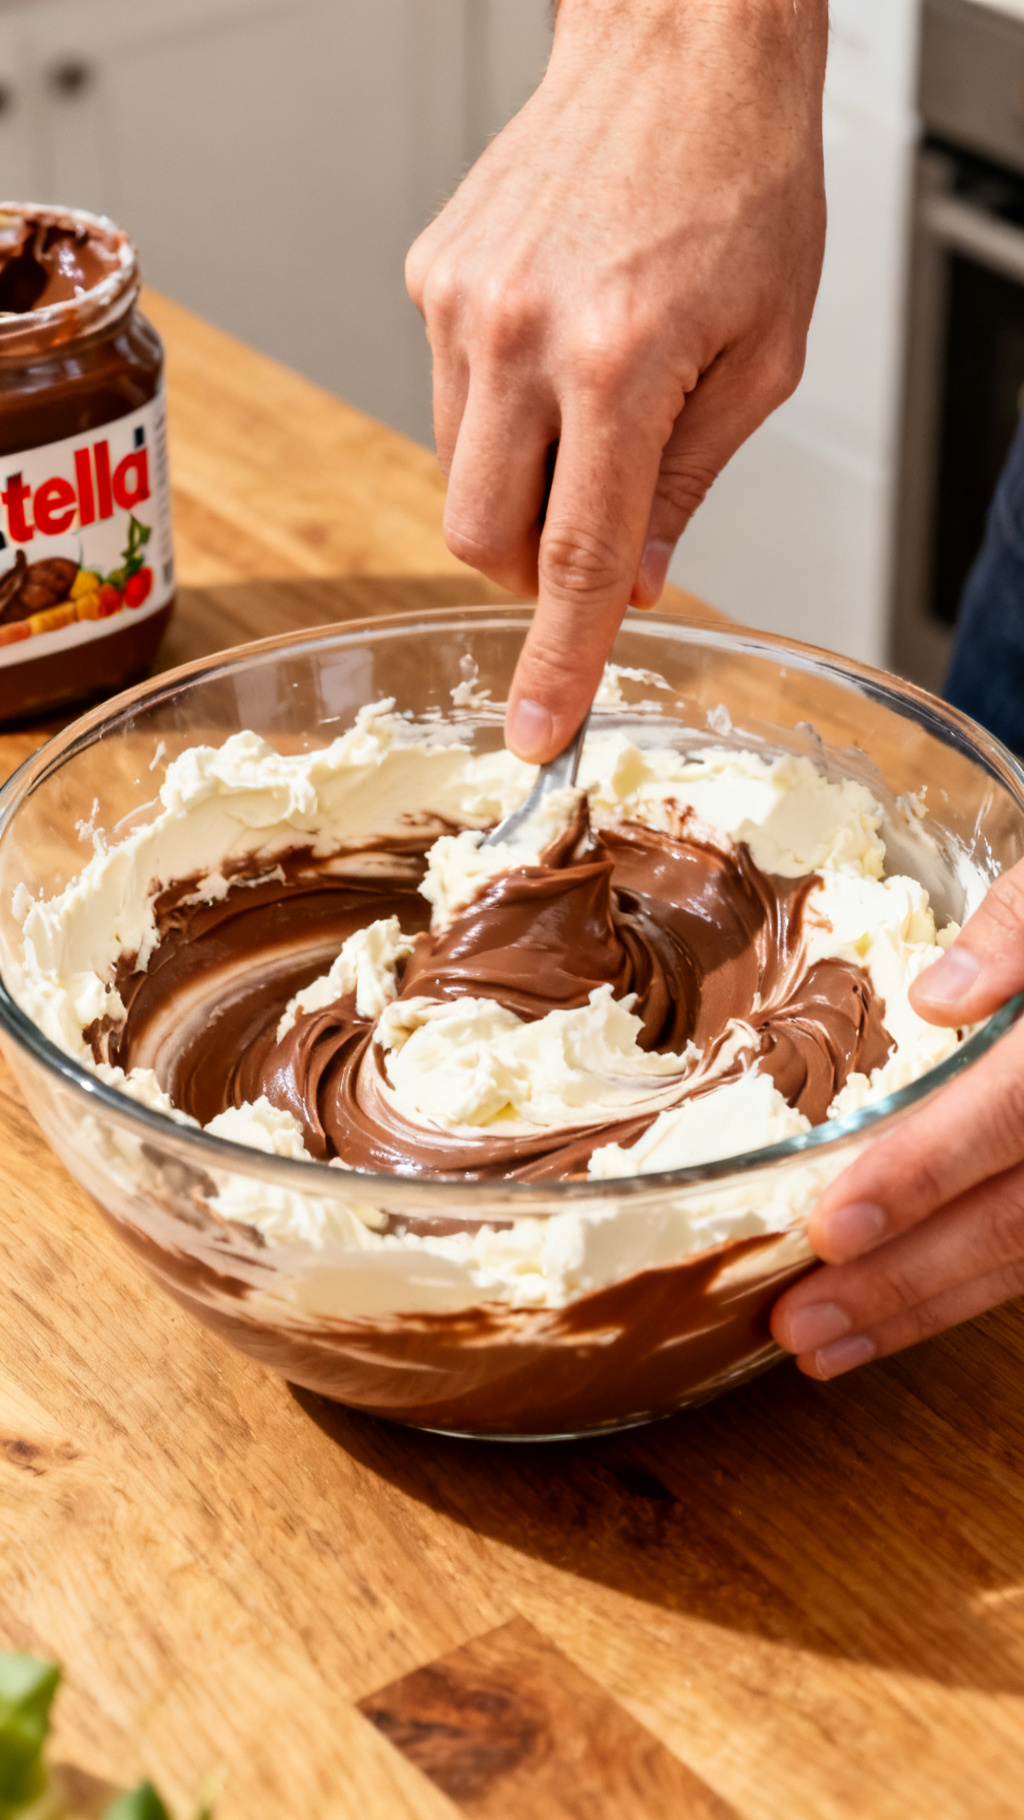
I gently fold Nutella into the cream cheese mixture instead of aggressively stirring. This keeps some airy texture, resulting in a lighter and fluffier cheesecake that melts in your mouth.
Insight: I find folding instead of stirring makes a noticeable difference in texture
Ingredients
- 1 1/2 cups graham cracker crumbs
- 6 tablespoons unsalted butter, melted
- 16 ounces cream cheese, softened
- 1 cup Nutella
- 1 cup heavy whipping cream, chilled
- 1/2 cup powdered sugar
- 1 teaspoon vanilla extract
- Pinch of salt
Instructions
- 1. Prepare the crust by mixing graham cracker crumbs with melted butter until evenly coated; I always press it firmly into the bottom of a 9-inch springform pan to create a solid base.
- 2. Refrigerate the crust for at least 30 minutes to allow it to set well before adding the filling.
- 3. In a large bowl, beat the softened cream cheese with powdered sugar and a pinch of salt until smooth and creamy; I find using an electric mixer at medium speed works best.
- 4. Gently fold in the Nutella into the cream cheese mixture, taking care not to overmix — this keeps the filling light and airy.
- 5. In a separate chilled bowl, whip the heavy cream with vanilla extract until stiff peaks form; in my experience, cold equipment helps this step succeed every time.
- 6. Carefully fold the whipped cream into the Nutella-cheese mixture, maintaining the airiness.
- 7. Pour the filling over the chilled crust and smooth the top with an offset spatula.
- 8. Cover the cheesecake with plastic wrap and let it chill in the refrigerator for at least 6 hours or overnight to fully set.
- 9. Before serving, I run a knife along the pan edges and unlock the springform for beautiful slices.
Ingredient Alternatives & Substitutions
- Replace graham crackers with digestive biscuits for a slightly different crunch — I’ve tested this and it works well
- Use coconut oil instead of butter in the crust for a dairy-free version, which I recommend for subtle tropical notes
- Swap heavy cream with coconut cream to make the filling vegan-friendly, but expect a mild flavor change
- Try peanut butter in place of Nutella for a nutty twist that I personally enjoy
- Use gluten-free crackers for the crust if you need a gluten-free dessert — it sets perfectly
- Add a teaspoon of espresso powder to the filling for a mocha flavor that I find enhances the chocolate notes
Storage Instructions
- Store leftover cheesecake in an airtight container in the refrigerator for up to 4 days to preserve freshness
- Cover the cheesecake tightly with plastic wrap to prevent it from absorbing fridge odors
- Freeze individual slices in airtight freezer bags for up to 2 months; thaw overnight in the fridge before serving
- Avoid leaving the cheesecake at room temperature for more than 2 hours to maintain food safety and texture
Common Mistakes to Avoid
- Using cold cream cheese which leads to lumps; I learned this the hard way and now always soften it first
- Skipping the chilling time for the crust resulting in a crumbly base that falls apart when cut
- Overmixing the filling causing it to lose its fluffy texture, which I noticed ruins the light mouthfeel
- Not whipping the cream to stiff peaks making the cheesecake dense and less creamy
- Filling the cheesecake when the crust is still warm, leading to sogginess; I avoid this by refrigerating properly
- Removing the cheesecake from the pan too soon causing it to break apart, I always wait until properly chilled
Frequently Asked Questions
Q: Can I make this cheesecake without a springform pan?
Ans: I’ve made this using a regular cake pan lined with parchment paper, but I find the springform pan gives cleaner edges and easier removal.
Q: How long should I chill the cheesecake before serving?
Ans: From my experience, chilling it overnight yields the best texture and flavor, though a minimum of 6 hours works if you’re short on time.
Q: Can I substitute Nutella with another chocolate spread?
Ans: Yes, I’ve tried both hazelnut-free chocolate spreads and peanut butter-chocolate combos successfully, though the flavor will vary slightly.
Conclusion
I’m confident this no-bake Nutella cheesecake will become a favorite for anyone wanting an easy yet indulgent dessert. With minimal effort and no oven required, I encourage you to try it and enjoy every creamy, chocolatey bite.