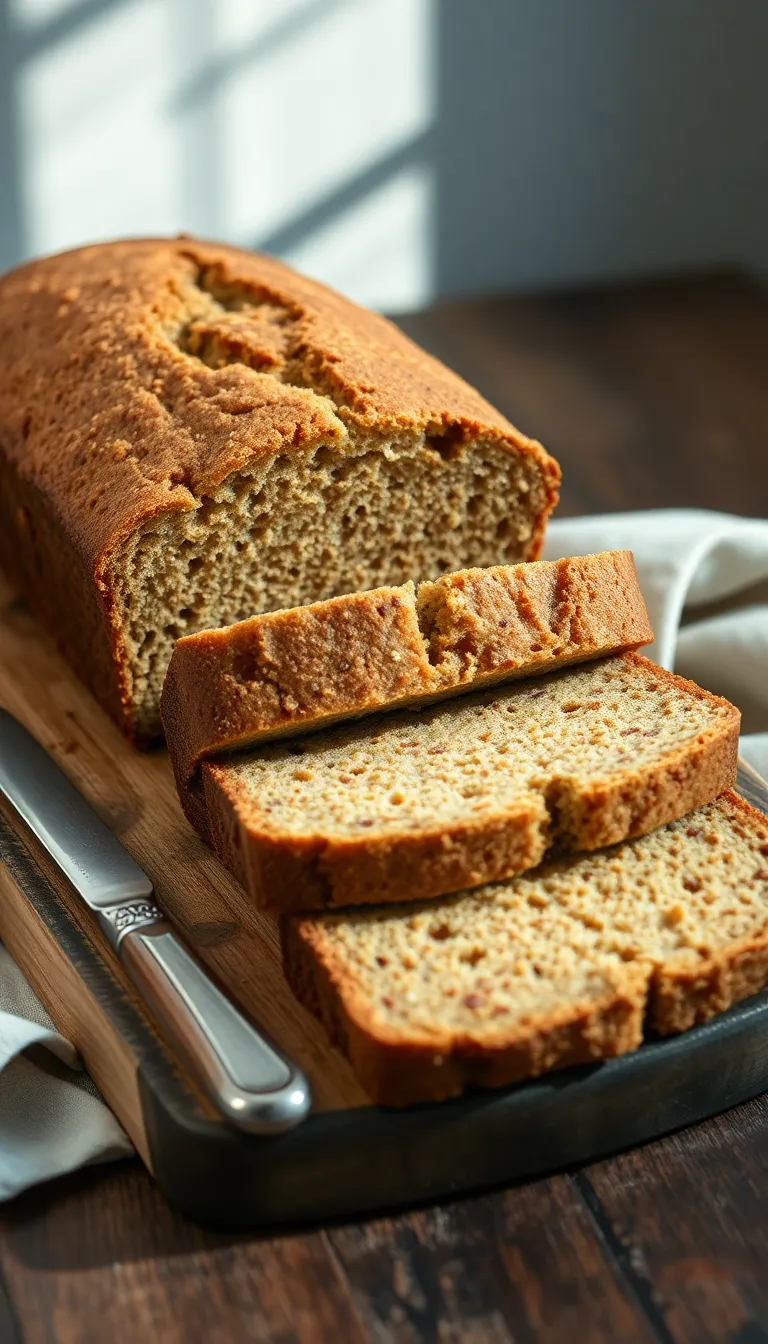

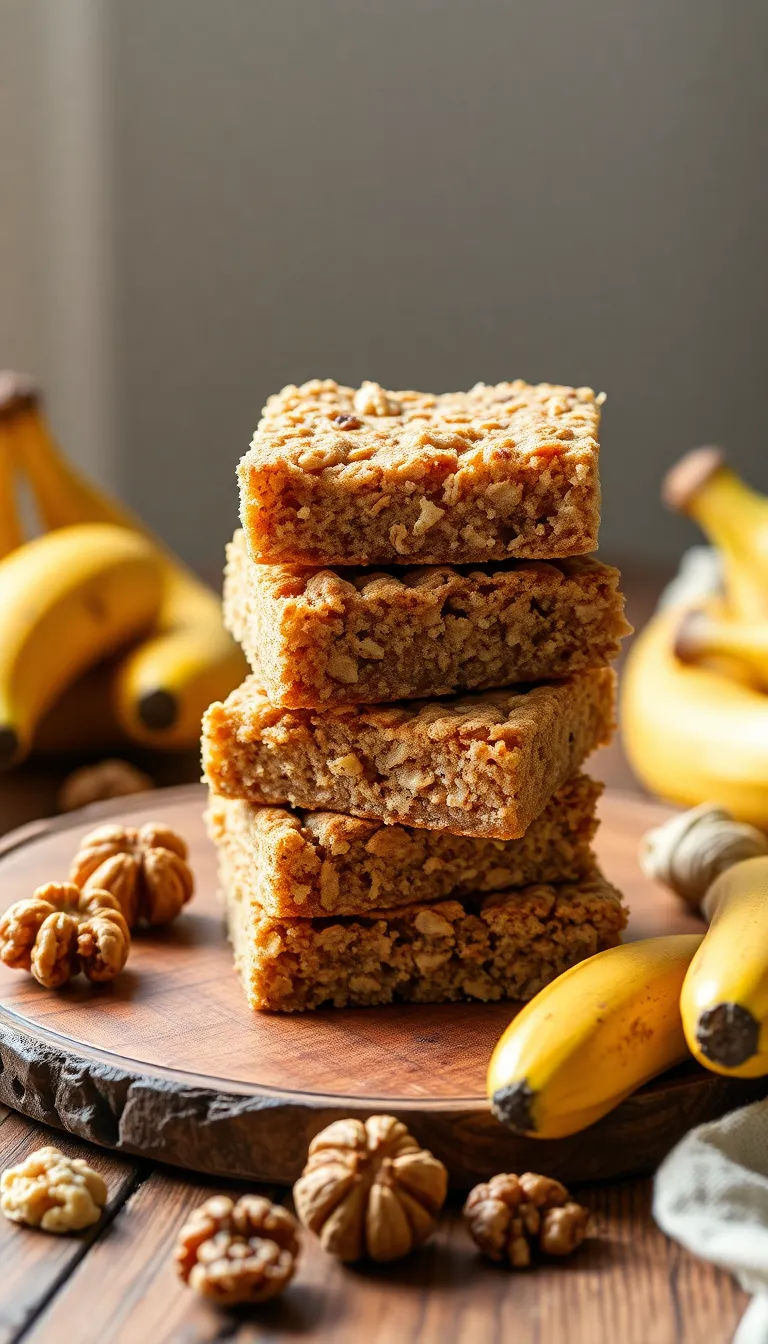
Healthy Oat Flour Banana Bread Bars – Easy to Make and Packed with Goodness
When I first switched to oat flour for baking, I was surprised by how moist and tender my banana bread bars turned out without any added gluten. The subtle nuttiness of oat flour combined with ripe bananas makes these bars unexpectedly delicious and wholesome.
Healthy Oat Flour Banana Bread Bars – Easy to Make and Packed with Goodness
Ingredients
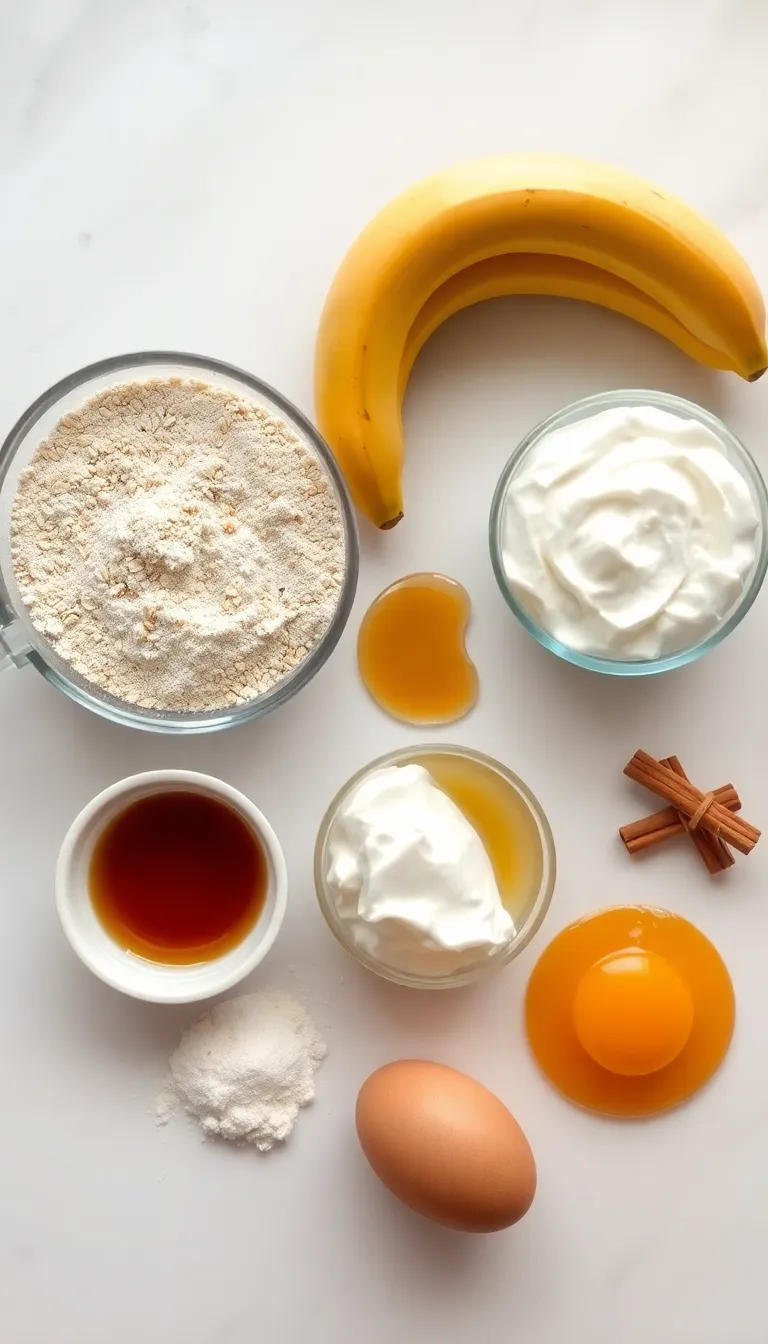
- 2 cups oat flour
- 3 ripe bananas (about 1 ½ cups mashed)
- 1 large egg
- ½ cup plain Greek yogurt
- ¼ cup pure maple syrup
- 1 teaspoon baking powder
- ½ teaspoon baking soda
- ½ teaspoon ground cinnamon
- ¼ teaspoon salt
- 1 teaspoon vanilla extract
- ½ cup chopped walnuts (optional)
Instructions
- Preheat the oven to 350°F (175°C) and lightly grease a 9×9-inch baking pan; I like to line mine with parchment paper for easy removal.
- In a large bowl, mash the ripe bananas with a fork until mostly smooth; I always leave a few small lumps for texture.
- Whisk in the egg, Greek yogurt, maple syrup, and vanilla extract until fully combined.
Key Takeaways
- Use very ripe bananas for natural sweetness
- Don’t overmix the batter to keep bars tender
- Spoon oat flour gently to measure accurately
- Bake until golden brown and a toothpick comes out clean
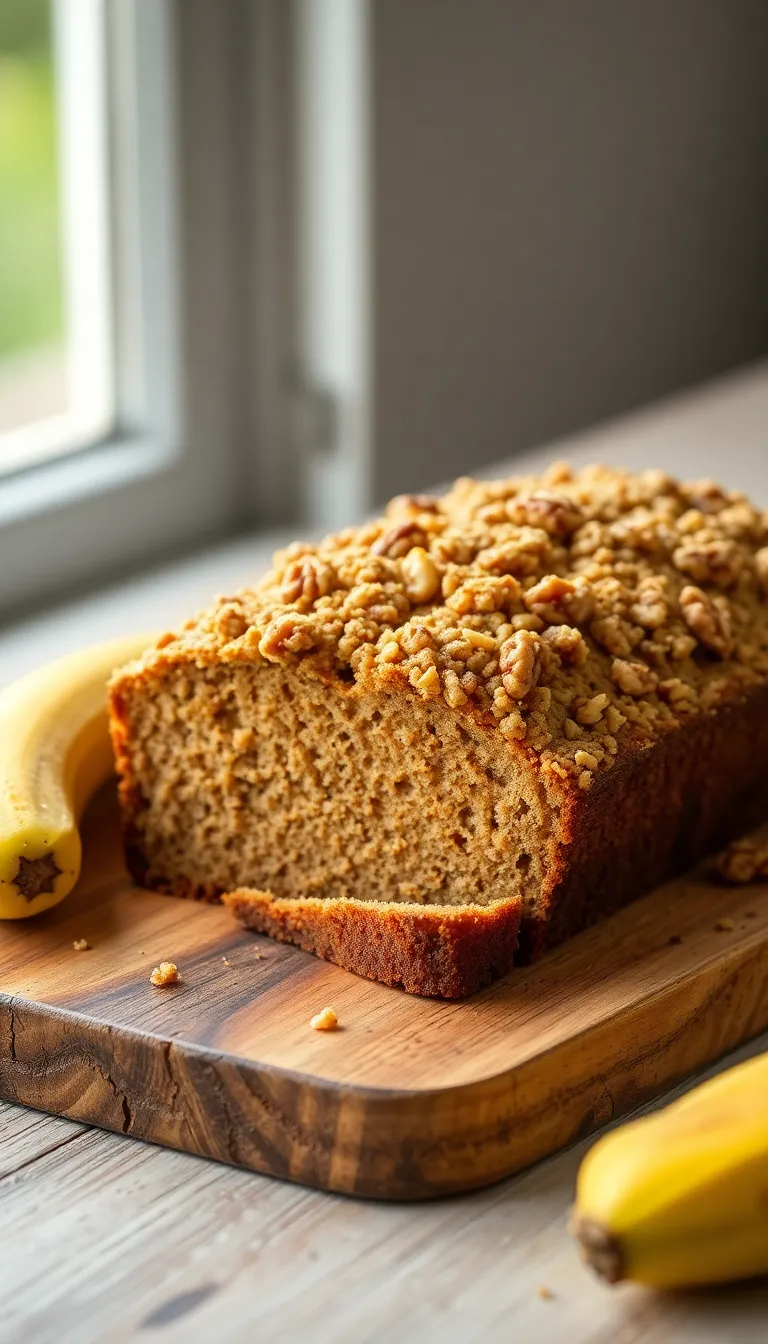
Why Oat Flour Makes a Difference
I always recommend using oat flour in this recipe because it adds a wonderfully soft texture and a slight chewiness that you can’t get from regular flour. Plus, oat flour keeps the banana bread bars gluten-free and boosts fiber content without compromising flavor.
Pro Tip: Sift oat flour to avoid clumps and ensure even mixing
Balancing Sweetness Naturally
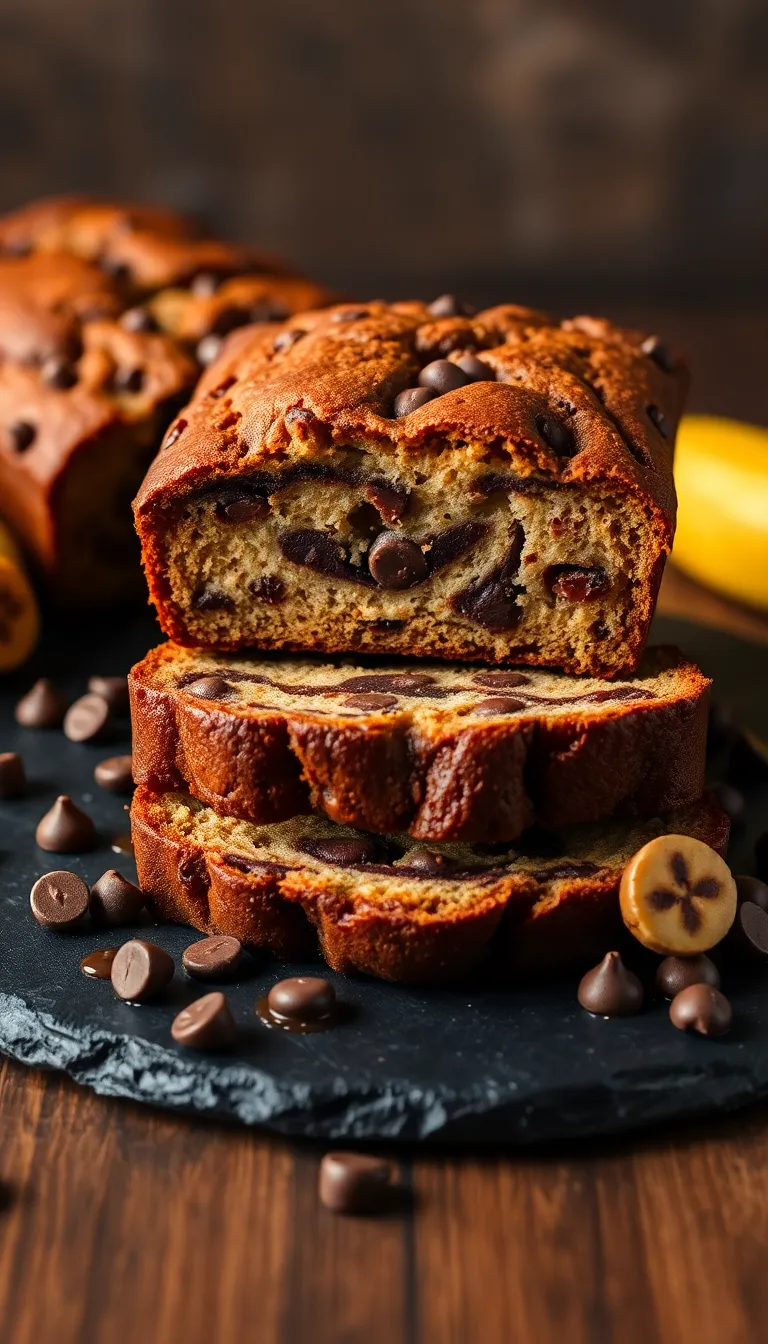
I rely on ripe bananas to sweeten these bars naturally, which helps me reduce added sugars. The caramelized banana flavor shines through, giving each bite a warmth I love. It’s an easy way to enjoy a treat that feels indulgent yet wholesome.
Fact: Ripe bananas contain more natural sugars, enhancing sweetness and moisture
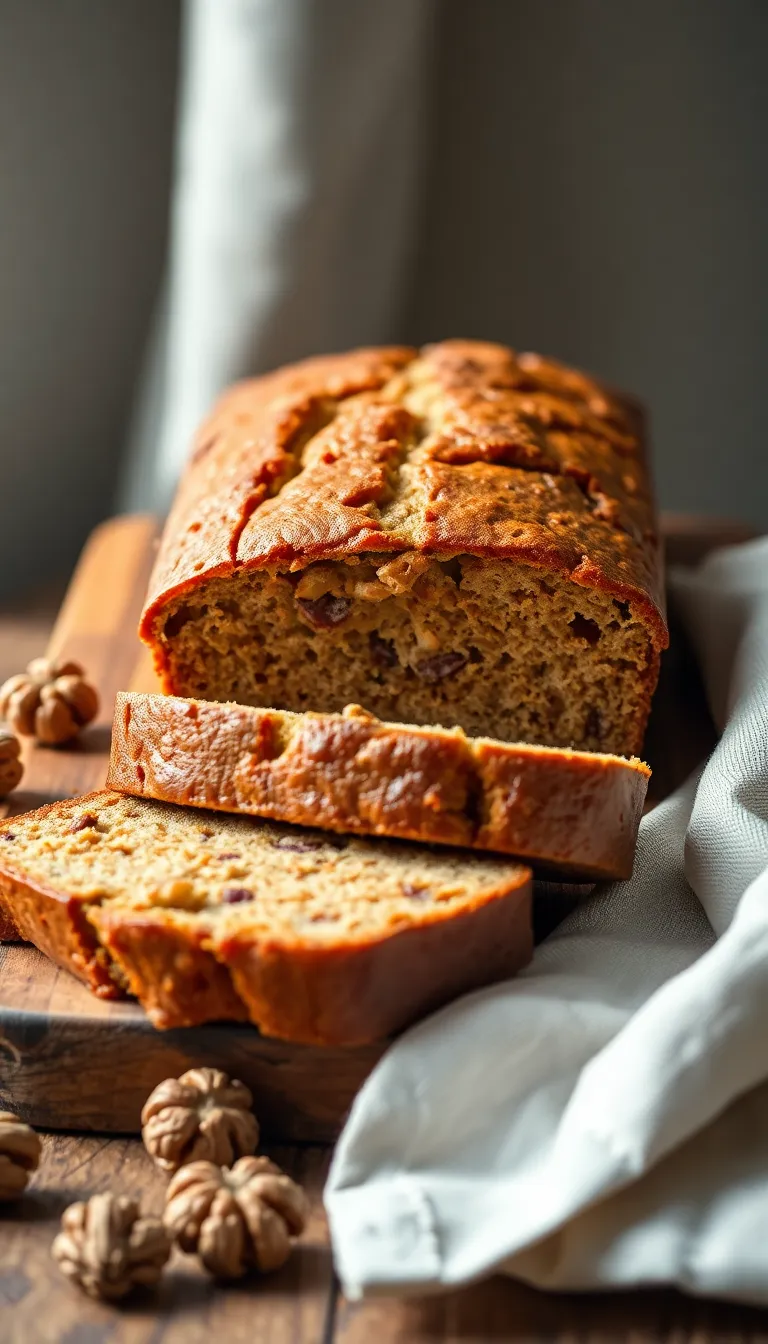
Maintaining Moisture Without Oil
I experimented with leaving out extra oil, relying on the moisture from bananas and a touch of Greek yogurt to keep the bars tender. This technique made the bars less greasy but just as satisfying, and I’ve found it keeps the texture light and appealing.
Insight: I discovered yogurt adds moisture and a slight tang that complements bananas perfectly
Ingredients
- 2 cups oat flour
- 3 ripe bananas (about 1 ½ cups mashed)
- 1 large egg
- ½ cup plain Greek yogurt
- ¼ cup pure maple syrup
- 1 teaspoon baking powder
- ½ teaspoon baking soda
- ½ teaspoon ground cinnamon
- ¼ teaspoon salt
- 1 teaspoon vanilla extract
- ½ cup chopped walnuts (optional)
Instructions
- Preheat the oven to 350°F (175°C) and lightly grease a 9×9-inch baking pan; I like to line mine with parchment paper for easy removal.
- In a large bowl, mash the ripe bananas with a fork until mostly smooth; I always leave a few small lumps for texture.
- Whisk in the egg, Greek yogurt, maple syrup, and vanilla extract until fully combined.
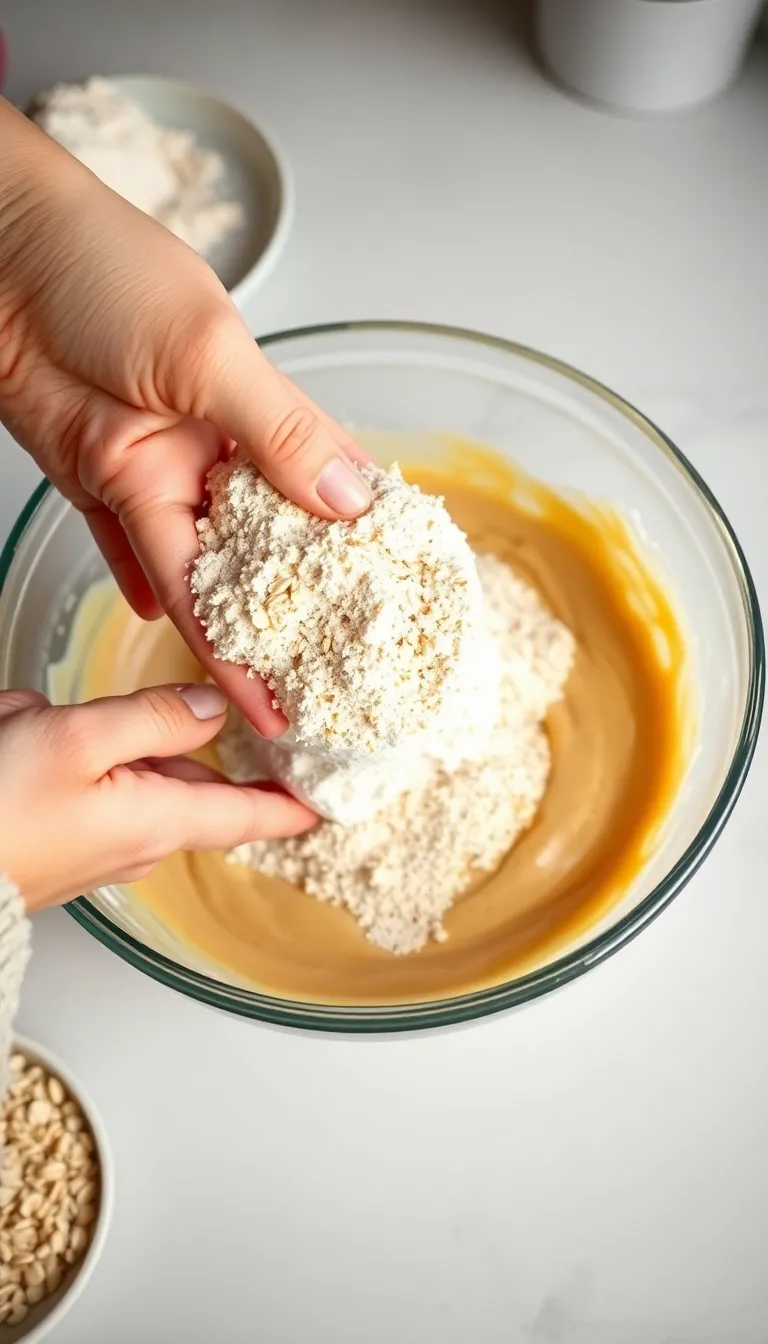
- In a separate bowl, sift together oat flour, baking powder, baking soda, cinnamon, and salt; I find this helps prevent any oat flour clumps.
- Gently fold the dry ingredients into the wet mixture using a spatula; I stop mixing as soon as the flour disappears to keep the bars tender.
- Fold in chopped walnuts if using for added crunch.
- Pour the batter into the prepared pan and spread evenly with a spatula.
- Bake for 28-32 minutes until golden brown and a toothpick inserted in the center comes out clean.
- Let the bars cool completely in the pan before slicing into 9 squares; I always find this step crucial for clean cuts.
Ingredient Alternatives & Substitutions
- Replace Greek yogurt with unsweetened applesauce to keep bars moist and dairy-free — I’ve tested this and it works well
- Swap maple syrup for honey for a different natural sweetness profile — I prefer the subtle earthiness maple syrup brings
- Use almond flour in place of oat flour for a nuttier flavor, but reduce the amount by ¼ cup because almond flour is denser
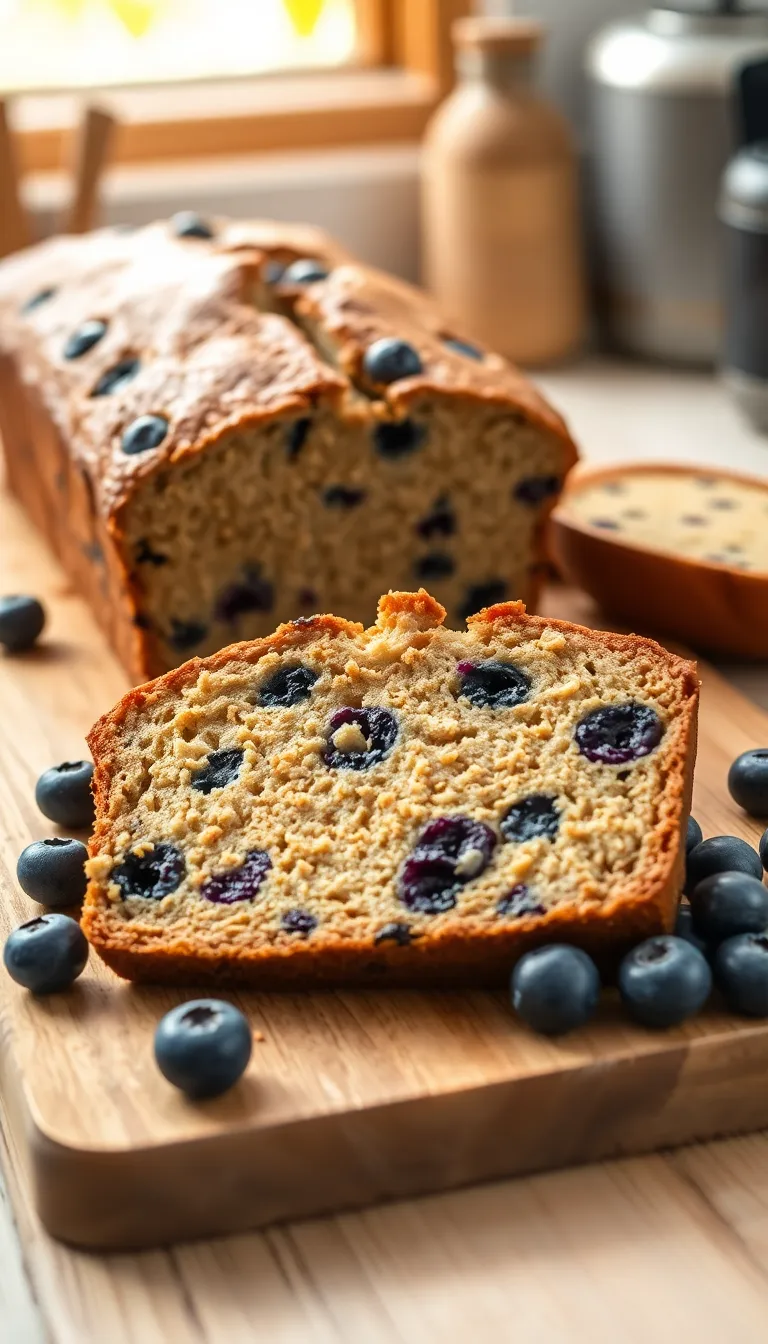
- Add a handful of dark chocolate chips for extra indulgence — I often sneak in a few for a treat
- Swap walnuts with pecans or omit nuts for a nut-free version that still tastes great
Storage Instructions
- Store cooled bars in an airtight container at room temperature for up to 3 days
- Keep bars refrigerated for up to a week to preserve freshness — I wrap them individually for easy snacking
- Freeze bars in a sealed bag for up to 3 months; thaw overnight in the fridge before enjoying
- For the best texture after freezing, warm bars slightly in the microwave for 15 seconds
Common Mistakes to Avoid
- Using underripe bananas: I learned this the hard way and ended up with bland bars lacking sweetness and moisture
- Overmixing the batter: I used to stir too long and made the bars tough instead of tender
- Measuring oat flour by scooping directly from the container: I now spoon it into a cup and level off to avoid dense texture
- Skipping the cooling period: trying to slice hot bars caused crumbly pieces before I got patient
- Not greasing or lining the pan: I once lost half my bars stuck to the pan and it was frustrating
- Adding too many nuts: it can affect the density and interfere with even baking, which I discovered after some trial
Frequently Asked Questions
Q: Can I use regular all-purpose flour instead of oat flour?
Ans: Yes, I’ve swapped in all-purpose flour before, but I noticed the bars become a bit denser and less moist. Oat flour gives a lighter texture and a subtle nutty flavor I enjoy.
Q: How ripe should the bananas be for this recipe?
Ans: I prefer bananas with plenty of brown spots and soft texture because they’re sweeter and mash easily, which really enhances the flavor and moisture of the bars.
Q: Can I make these bars vegan?
Ans: I’ve tried making them vegan by replacing the egg with a flax egg and using non-dairy yogurt, which works well if you’re careful not to overmix and keep the batter moist.
Conclusion
I truly believe these oat flour banana bread bars are the perfect balance of wholesome and comforting. Whether you need a healthy snack or an easy breakfast on the go, this recipe delivers flavor and nutrition effortlessly. Give it a try and enjoy every soft, naturally sweet bite.