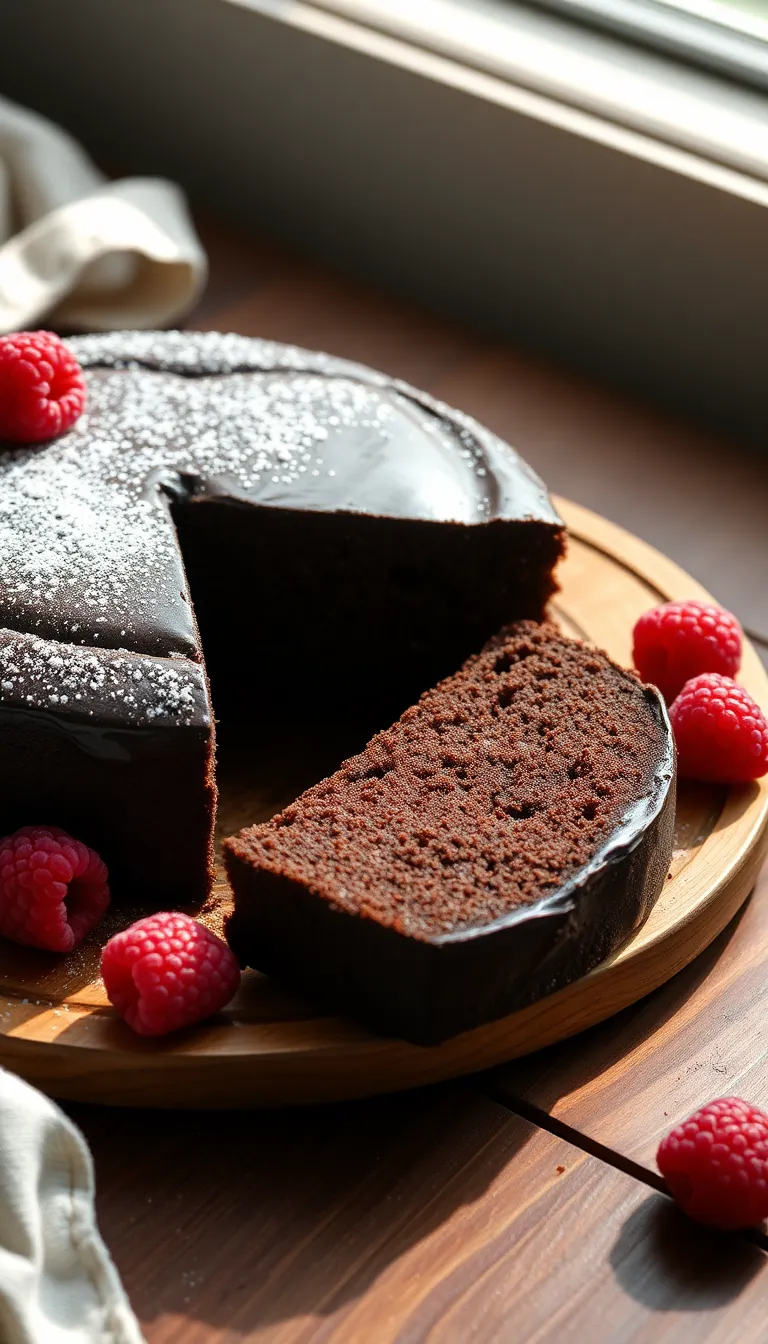

Gluten-Free Brownies – Decadent Flavor Without Compromise
I first tackled gluten-free brownies after realizing most recipes lacked that fudgy richness I craved. What surprised me was how a simple swap to almond flour combined with cocoa could create a decadent texture without compromise.
Gluten-Free Brownies – Decadent Flavor Without Compromise

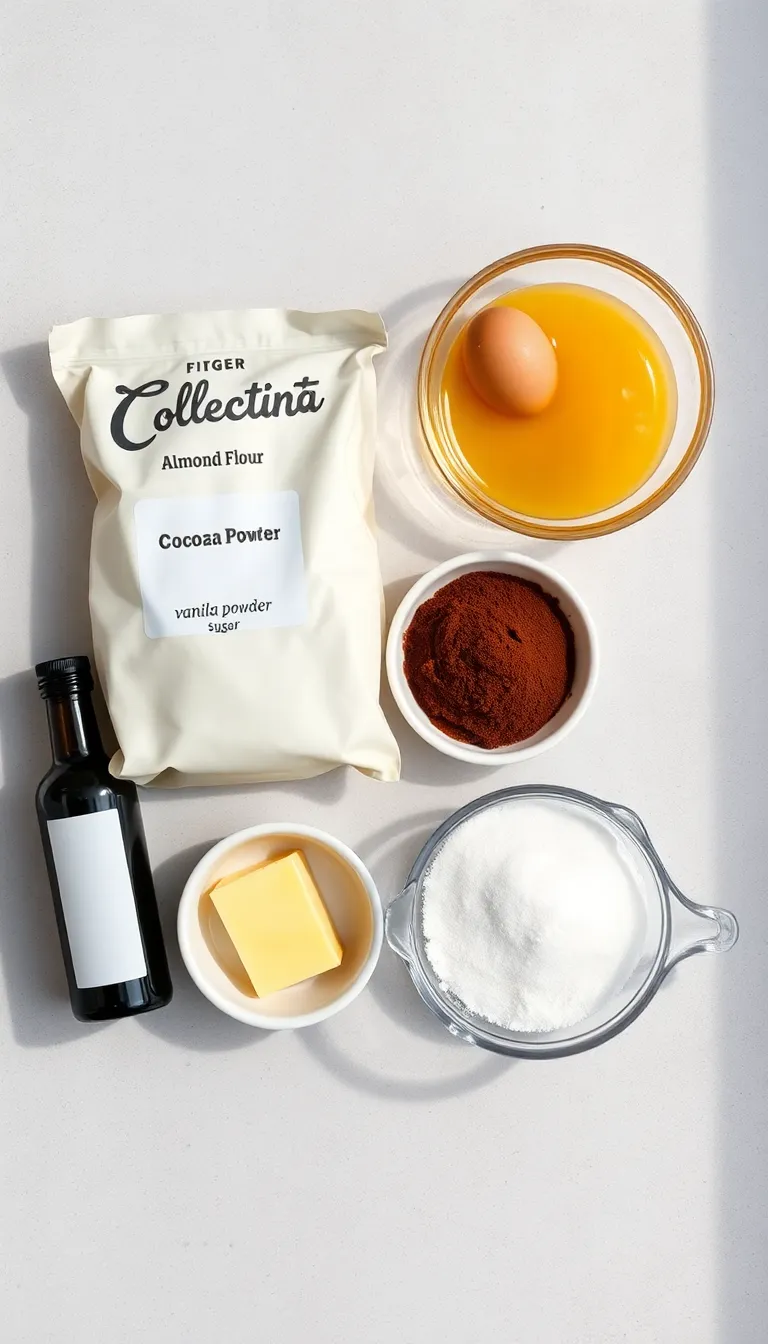
Ingredients
- 1 1/2 cups almond flour
- 3/4 cup unsweetened cocoa powder
- 1/2 teaspoon baking powder
- 1/4 teaspoon salt
- 3/4 cup granulated sugar
- 2 large eggs
- 1/2 cup unsalted butter, melted and slightly cooled
- 1 teaspoon vanilla extract
Instructions
- Preheat your oven to 350°F (175°C) and grease an 8-inch square baking pan lightly; I find parchment paper lining helps release the brownies cleanly.
- In a medium bowl, whisk together almond flour, cocoa powder, baking powder, salt, and sugar until evenly combined.
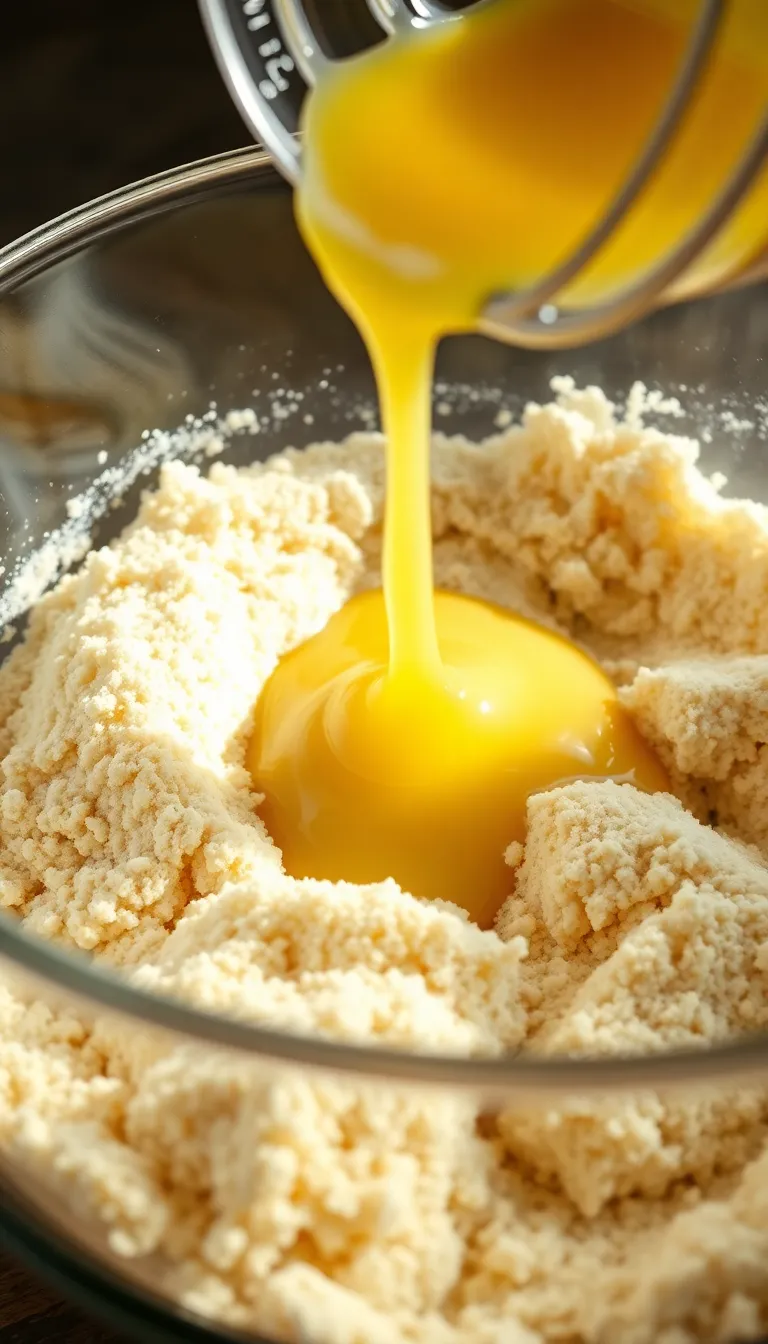
- In another bowl, beat the eggs lightly, then stir in melted butter and vanilla extract until smooth.
Key Takeaways
- Use almond flour for moist, fudgy brownies
- Incorporate melted butter for richness
- Avoid overmixing to keep tender crumb
- Chill before cutting for clean slices
Why This Recipe Works
I always recommend almond flour in gluten-free baking because its natural oils create that desirable fudgy texture. Unlike typical rice flours, it keeps the brownies moist and rich while offering a subtle nutty flavor that complements the chocolate.
Pro Tip: Use warm melted butter to help ingredients blend smoothly
The Role of Cocoa Powder
I chose unsweetened cocoa powder over chocolate chips to intensify the chocolate flavor without adding extra fat. This balances the richness and keeps the brownies from tasting too dense or greasy.
Fact: Dutch-process cocoa offers deeper color and smoother flavor
My Secret for Clean Cuts
I let the brownies cool completely and then chill them for at least an hour before slicing. This step firms them up, preventing crumbly edges and giving you neat, visually appealing squares every time.
Insight: I always chill brownies to make slicing easier and prettier
Ingredients
- 1 1/2 cups almond flour
- 3/4 cup unsweetened cocoa powder
- 1/2 teaspoon baking powder
- 1/4 teaspoon salt
- 3/4 cup granulated sugar
- 2 large eggs
- 1/2 cup unsalted butter, melted and slightly cooled
- 1 teaspoon vanilla extract
Instructions
- Preheat your oven to 350°F (175°C) and grease an 8-inch square baking pan lightly; I find parchment paper lining helps release the brownies cleanly.
- In a medium bowl, whisk together almond flour, cocoa powder, baking powder, salt, and sugar until evenly combined.
- In another bowl, beat the eggs lightly, then stir in melted butter and vanilla extract until smooth.
- Pour the wet ingredients into the dry and fold gently with a spatula; I always fold carefully just until combined to avoid a tough texture.
- Spread the batter evenly into the prepared pan, smoothing the top with an offset spatula for uniform thickness.
- Bake for 22–25 minutes until a toothpick inserted near the center comes out with a few moist crumbs; I recommend checking at 22 minutes to avoid overbaking.
- Let the brownies cool completely in the pan on a wire rack, then refrigerate for at least an hour before slicing for neater pieces.
- Remove from pan using parchment overhang, slice into 9 squares, and serve.
Ingredient Alternatives & Substitutions
- Replace almond flour with oat flour for a slightly lighter texture — I tested this and it still yields tasty brownies
- Use coconut oil instead of butter for dairy-free brownies — I noticed a subtle coconut flavor but it works well
- Swap granulated sugar with coconut sugar for a deeper caramel note — I found it adds complexity
- Add 1/2 cup chopped walnuts for extra crunch — I love the contrast it provides
- Incorporate 1/4 cup dark chocolate chips into the batter for pockets of melted chocolate — I think it enhances richness
Storage Instructions
- Store brownies in an airtight container at room temperature for up to 3 days
- Keep brownies refrigerated for up to 5 days to extend freshness
- Freeze brownies wrapped tightly in plastic wrap and foil for up to 3 months
- Thaw frozen brownies overnight in the refrigerator before serving
Common Mistakes to Avoid
- Overmixing the batter: I learned this the hard way, and the brownies became cakey rather than fudgy
- Skipping the chilling step: I found brownies are too crumbly and hard to cut neatly without chilling
- Using salted butter without adjusting salt: I once made a batch that was too salty, so I now use unsalted butter or reduce salt
- Not measuring almond flour properly: I always spoon and level, as packing almond flour can make brownies dense
- Relying solely on a toothpick test: I recommend checking moisture carefully because almond flour brownies stay moist inside
Frequently Asked Questions
Q: Can I use another gluten-free flour instead of almond flour?
Ans: I’ve tried replacing almond flour with a gluten-free all-purpose flour blend, and while it bakes fine, the texture isn’t as moist and fudgy. Almond flour’s natural oils really make a difference.
Q: Will these brownies be vegan if I substitute eggs?
Ans: I experimented with flax eggs before, but the brownies were denser and less rich. For best texture, I recommend using real eggs, but vegan bakers can try flax or chia eggs with some texture compromise.
Q: How can I make the brownies extra fudgy?
Ans: In my experience, slightly underbaking and allowing the brownies to cool completely followed by chilling makes them incredibly fudgy. I don’t recommend adding extra fat, as that can cause greasiness.
Conclusion
I encourage you to try this gluten-free brownie recipe if you want indulgent chocolate flavor without sacrificing texture. With simple ingredients and careful technique, I’m confident these brownies will satisfy even the most discerning chocolate lovers.