
Millie’s No-Bake Cheesecake Cups That Are So Easy To Prepare
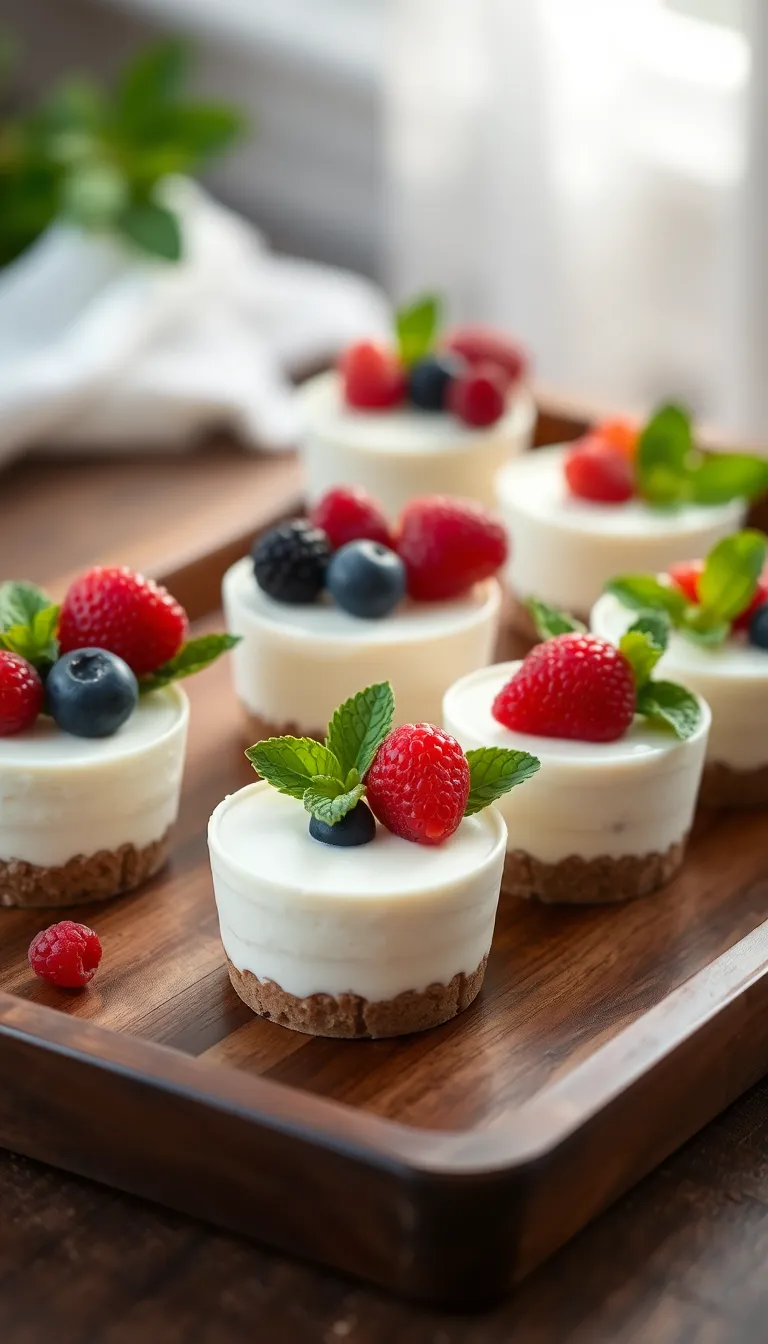
What makes these cheesecake cups so irresistible is their perfectly creamy texture combined with a delightfully crunchy base—no baking required. I first discovered this recipe when I wanted a quick dessert that felt indulgent but was easy enough to whip up on a whim.
Millie’s No-Bake Cheesecake Cups That Are So Easy To Prepare
Ingredients
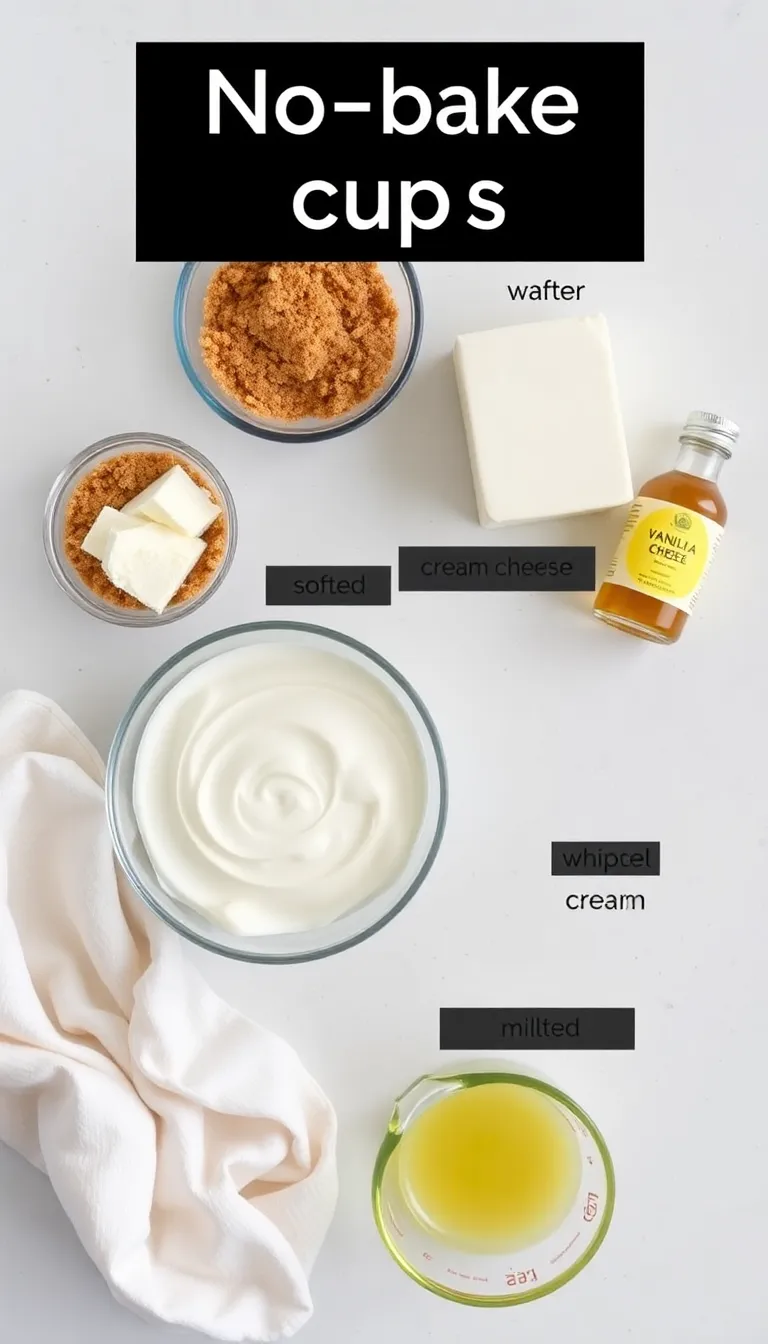
- 1 1/2 cups graham cracker crumbs
- 5 tablespoons unsalted butter, melted
- 2 tablespoons granulated sugar
- 16 ounces full-fat cream cheese, softened
- 1/2 cup granulated sugar
- 1 teaspoon pure vanilla extract
- 1 cup heavy whipping cream, cold
- Fresh berries or fruit for topping (optional)
Instructions
- 1. Combine graham cracker crumbs, melted butter, and 2 tablespoons sugar in a bowl; I press the mixture firmly into the bottoms of six 6-ounce serving cups to create the crust.
- 2. Chill the crust-lined cups in the refrigerator while preparing the filling to let the base set solidly.
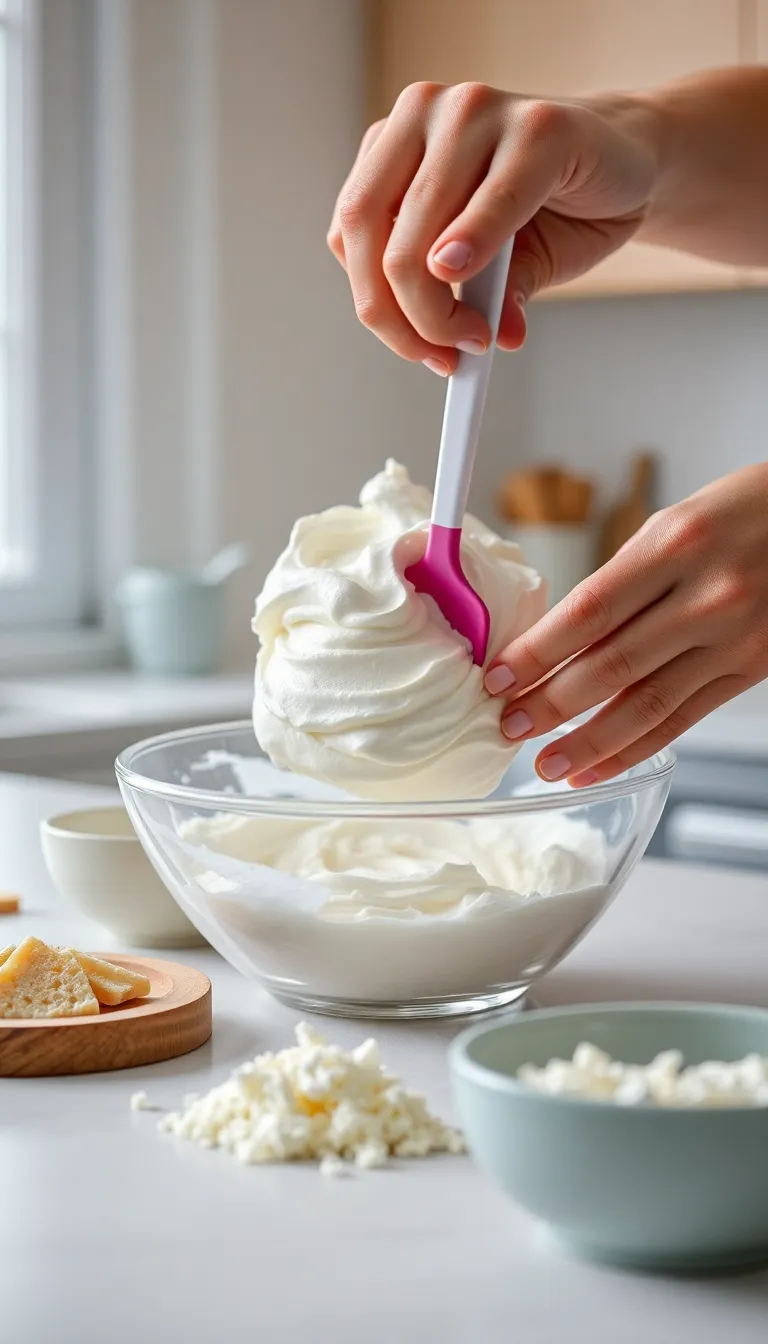
- 3. Using a stand mixer or handheld beater, whip the cold heavy cream until stiff peaks form; I always start slow to avoid splattering.
Key Takeaways
- Use full-fat cream cheese for richness
- Chill thoroughly for best set texture
- Graham cracker crust adds necessary crunch
- Gentle folding preserves creamy consistency
Why This Recipe Works
I always recommend using full-fat cream cheese because it creates that luscious, silky texture that makes the cheesecake stand out without the baking step. The crushed graham cracker crust creates a sturdy, crunchy base that contrasts beautifully with the creamy filling.
Pro Tip: Press the crust firmly to ensure a solid base
The No-Bake Advantage
Skipping the oven saves a lot of time and makes this cheesecake more accessible for anyone intimidated by baking. In my experience, chilling is the key to getting the cheesecake to set properly without losing that velvety mouthfeel.
Fact: Chilling for at least 4 hours firms the texture perfectly
My Secret Technique
I gently fold the whipped cream into the sweetened cream cheese mixture to keep the filling light and airy. I’ve noticed when I overmix, the texture becomes dense, so I always recommend folding patiently to keep it fluffy.
Insight: I find folding gently is the best way to preserve fluffy texture
Ingredients
- 1 1/2 cups graham cracker crumbs
- 5 tablespoons unsalted butter, melted
- 2 tablespoons granulated sugar
- 16 ounces full-fat cream cheese, softened
- 1/2 cup granulated sugar
- 1 teaspoon pure vanilla extract
- 1 cup heavy whipping cream, cold
- Fresh berries or fruit for topping (optional)
Instructions
- 1. Combine graham cracker crumbs, melted butter, and 2 tablespoons sugar in a bowl; I press the mixture firmly into the bottoms of six 6-ounce serving cups to create the crust.
- 2. Chill the crust-lined cups in the refrigerator while preparing the filling to let the base set solidly.
- 3. Using a stand mixer or handheld beater, whip the cold heavy cream until stiff peaks form; I always start slow to avoid splattering.
- 4. In a separate bowl, beat the softened cream cheese with 1/2 cup sugar and vanilla until smooth and creamy, scraping down sides to ensure even mixing.
- 5. Gently fold the whipped cream into the cream cheese mixture in two additions, using a spatula with gentle motions to retain airiness.
- 6. Spoon the filling evenly over the chilled crusts and smooth the tops gently with the back of a spoon.
- 7. Refrigerate the assembled cups for at least 4 hours or overnight to allow the filling to firm up properly.
- 8. Before serving, top with fresh berries or fruit of your choice if desired for a colorful, fresh finish.
Ingredient Alternatives & Substitutions
- Substitute crushed digestive biscuits for graham crackers if unavailable — I’ve found the flavor is slightly less sweet but still works
- Replace granulated sugar with honey in the filling for a subtle floral note — I tested this and enjoyed the natural sweetness
- Use coconut cream instead of heavy whipping cream for a dairy-free version — I recommend whipping it cold for best texture
- Swap fresh berries with a drizzle of fruit compote or jam if fresh fruits are out of season — I find it adds a lovely tart contrast
Storage Instructions
- Store cheesecake cups covered tightly in the refrigerator for up to 3 days in an airtight container
- Avoid freezing the cups assembled as texture can degrade; freeze the crust and filling separately if needed
- If freezing crusts only, wrap them well and freeze up to 1 month, then thaw before filling
- Bring refrigerated cups to room temperature for 15 minutes before serving for the best creamy experience
Common Mistakes to Avoid
- Using cold cream cheese straight from the fridge makes mixing lumpy — I’ve learned to always soften it first
- Overwhipping the cream can cause it to become grainy; I once ruined a batch rushing through this step
- Pressing the crust too lightly results in crumbly bases; I now always press firmly with a flat glass
- Folding the whipped cream too aggressively deflates it; I remember seeing a dense filling when I rushed it once
- Not chilling the cheesecake long enough leads to a runny texture — patience is key to a perfect set
Frequently Asked Questions
Q: Can I use low-fat cream cheese for this recipe?
Ans: In my experience, low-fat cream cheese doesn’t provide the same creamy texture and can result in a runnier filling, so I recommend full-fat for best results.
Q: How long should I chill the cheesecake cups?
Ans: I always chill mine for at least 4 hours, but preferably overnight — this ensures the filling firms up nicely without compromising creaminess.
Q: Can I prepare these cheesecake cups ahead for a party?
Ans: Absolutely! I recommend making them the day before and refrigerating overnight; they hold up well and often taste even better after resting.
Conclusion
I encourage you to try these no-bake cheesecake cups the next time you want a fuss-free dessert that still feels indulgent. They come together quickly, and I’m confident you’ll love the creamy, fluffy texture paired with the crisp crust. Trust me, these simple cups can become your go-to dessert for any occasion.