
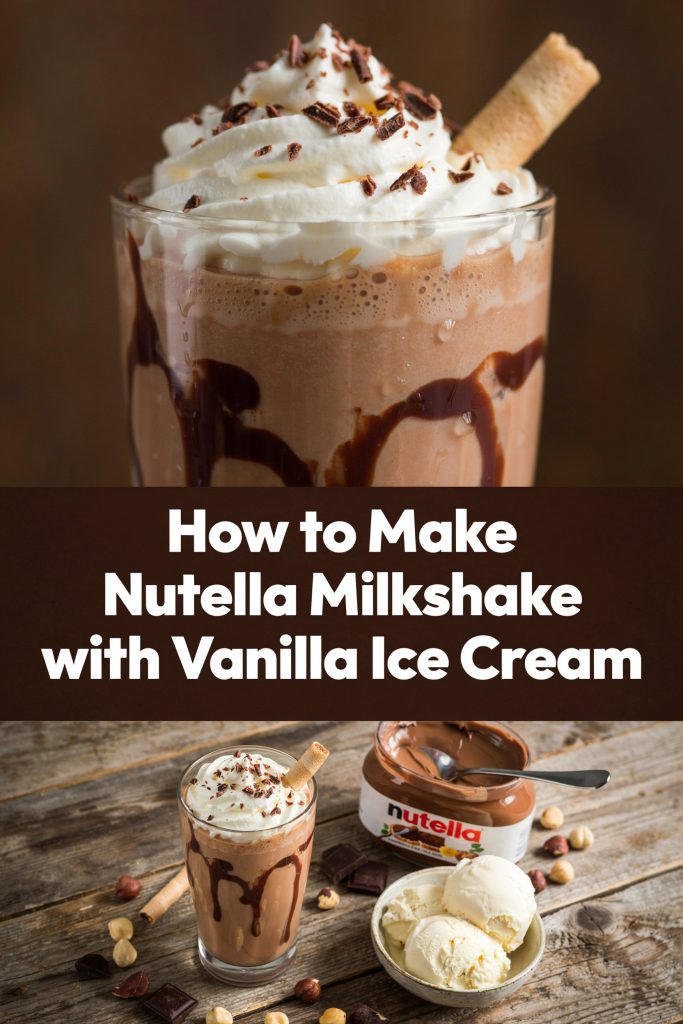
How to Make Nutella Milkshake with Vanilla Ice Cream

I’ve made Nutella milkshakes countless times, perfecting the balance between creamy vanilla ice cream and rich Nutella for a smooth indulgence. After years of experimenting, I finally nailed this easy yet decadent recipe that anyone can whip up in minutes.
How to Make Nutella Milkshake with Vanilla Ice Cream

Ingredients
- 2 cups vanilla ice cream
- 4 tablespoons Nutella
- 1 cup whole milk
- 1/4 teaspoon sea salt
- Whipped cream for topping (optional)
- Chocolate shavings or hazelnuts for garnish (optional)
Instructions
- Scoop 2 cups of vanilla ice cream into your blender, making sure it’s slightly softened for easy blending—I find this helps the texture immensely.
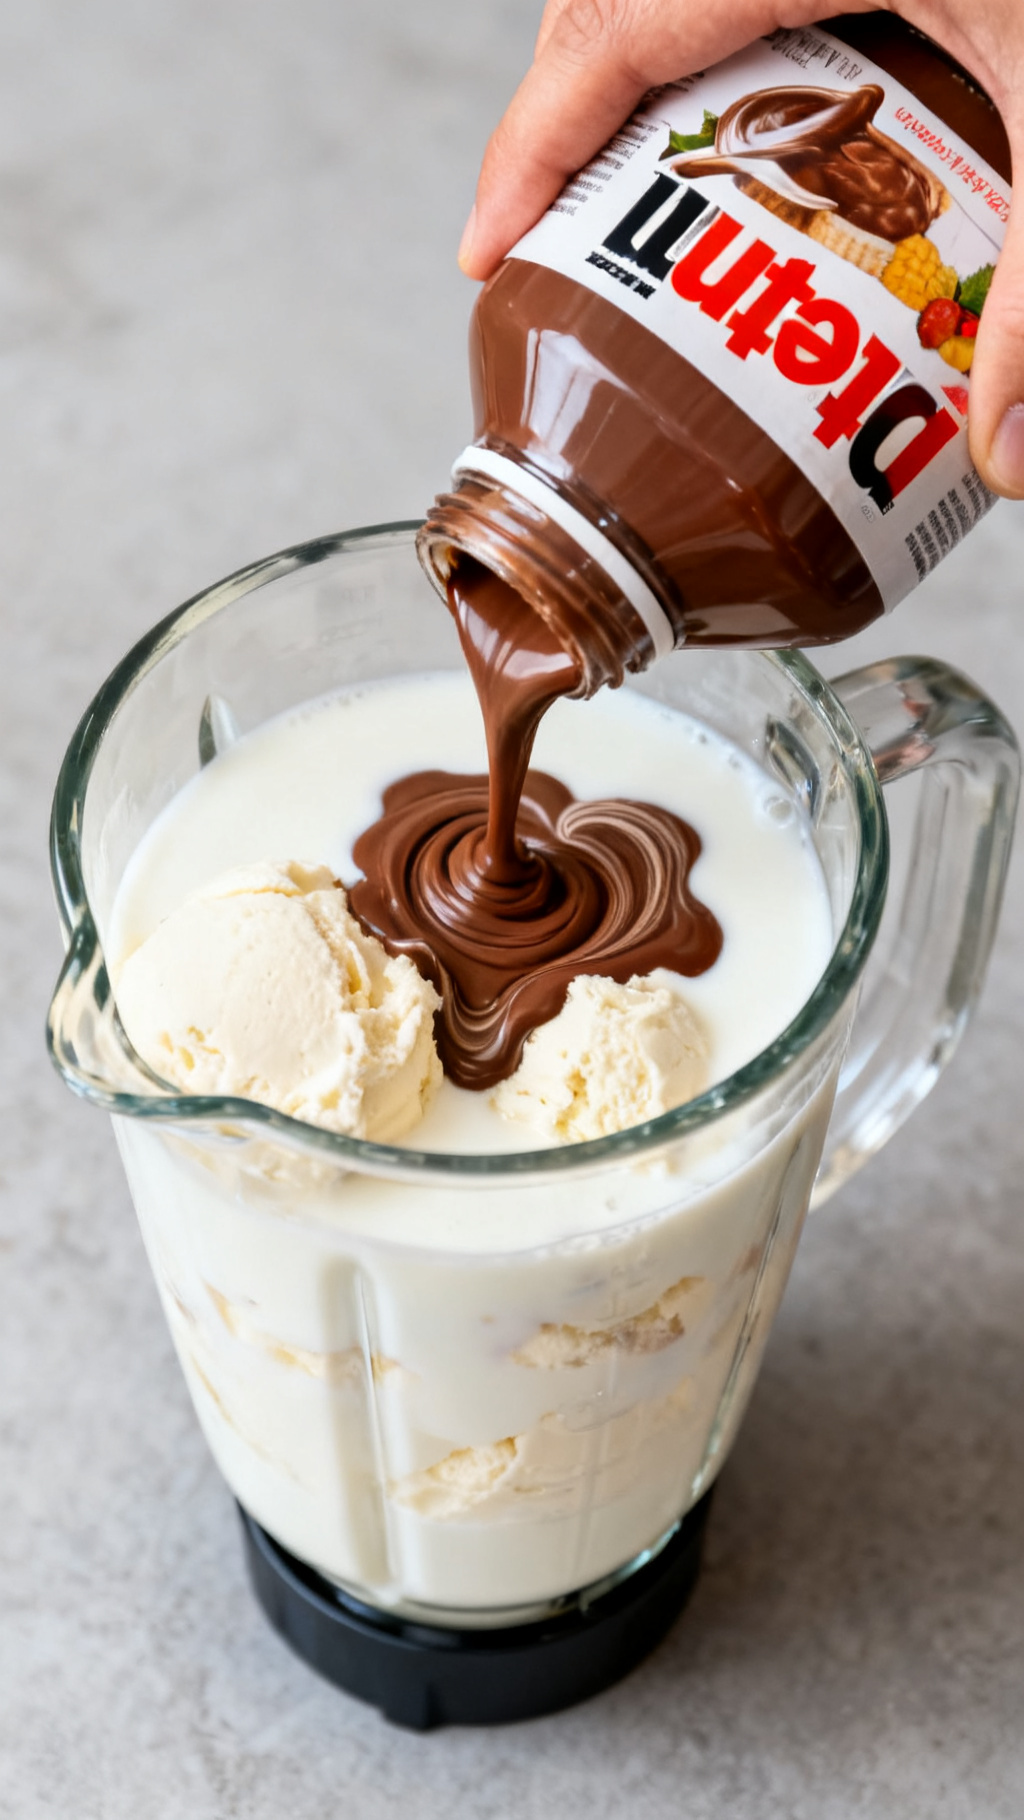
- Add 4 tablespoons of Nutella and 1 cup of whole milk to the blender.
- Sprinkle in 1/4 teaspoon of sea salt to elevate the flavors as I always do.
Save For Later
Key Takeaways
- Use high-quality vanilla ice cream for best creaminess
- Blend ingredients just enough to keep it thick and frothy
- Add a pinch of salt to enhance Nutella’s chocolate flavor
- Serve immediately for optimal texture and chill
Why This Recipe Works
I always recommend using full-fat vanilla ice cream because it creates a luxuriously creamy base that pairs perfectly with Nutella’s smooth hazelnut chocolate taste. I’ve found that a quick blend keeps the milkshake thick without watering it down.
Pro Tip: Blend briefly to keep your milkshake thick and creamy
What Makes It Special
Adding just a pinch of salt is a trick I discovered that really amplifies Nutella’s deep chocolate and nutty flavor, making each sip more satisfying. This simple addition transforms a basic milkshake into a gourmet treat.
Fact: Salt enhances sweet flavors by balancing bitterness
My Secret Technique
I like to chill my glasses before pouring the milkshake, which keeps it cold longer without needing to add extra ice that would dilute the texture. This small step preserves the rich, creamy mouthfeel from start to finish.
Insight: I always chill glasses to keep milkshakes cold without watering them down
Ingredients
- 2 cups vanilla ice cream
- 4 tablespoons Nutella
- 1 cup whole milk
- 1/4 teaspoon sea salt
- Whipped cream for topping (optional)
- Chocolate shavings or hazelnuts for garnish (optional)
Instructions
- Scoop 2 cups of vanilla ice cream into your blender, making sure it’s slightly softened for easy blending—I find this helps the texture immensely.
- Add 4 tablespoons of Nutella and 1 cup of whole milk to the blender.
- Sprinkle in 1/4 teaspoon of sea salt to elevate the flavors as I always do.
- Blend the mixture on medium speed for about 20 seconds until smooth but still thick; I recommend not over-blending to keep that creamy consistency.
- Taste and adjust by adding a little more milk if it’s too thick, blending briefly again.
- Pour the milkshake into chilled glasses—this is a step I never skip to maintain coldness.
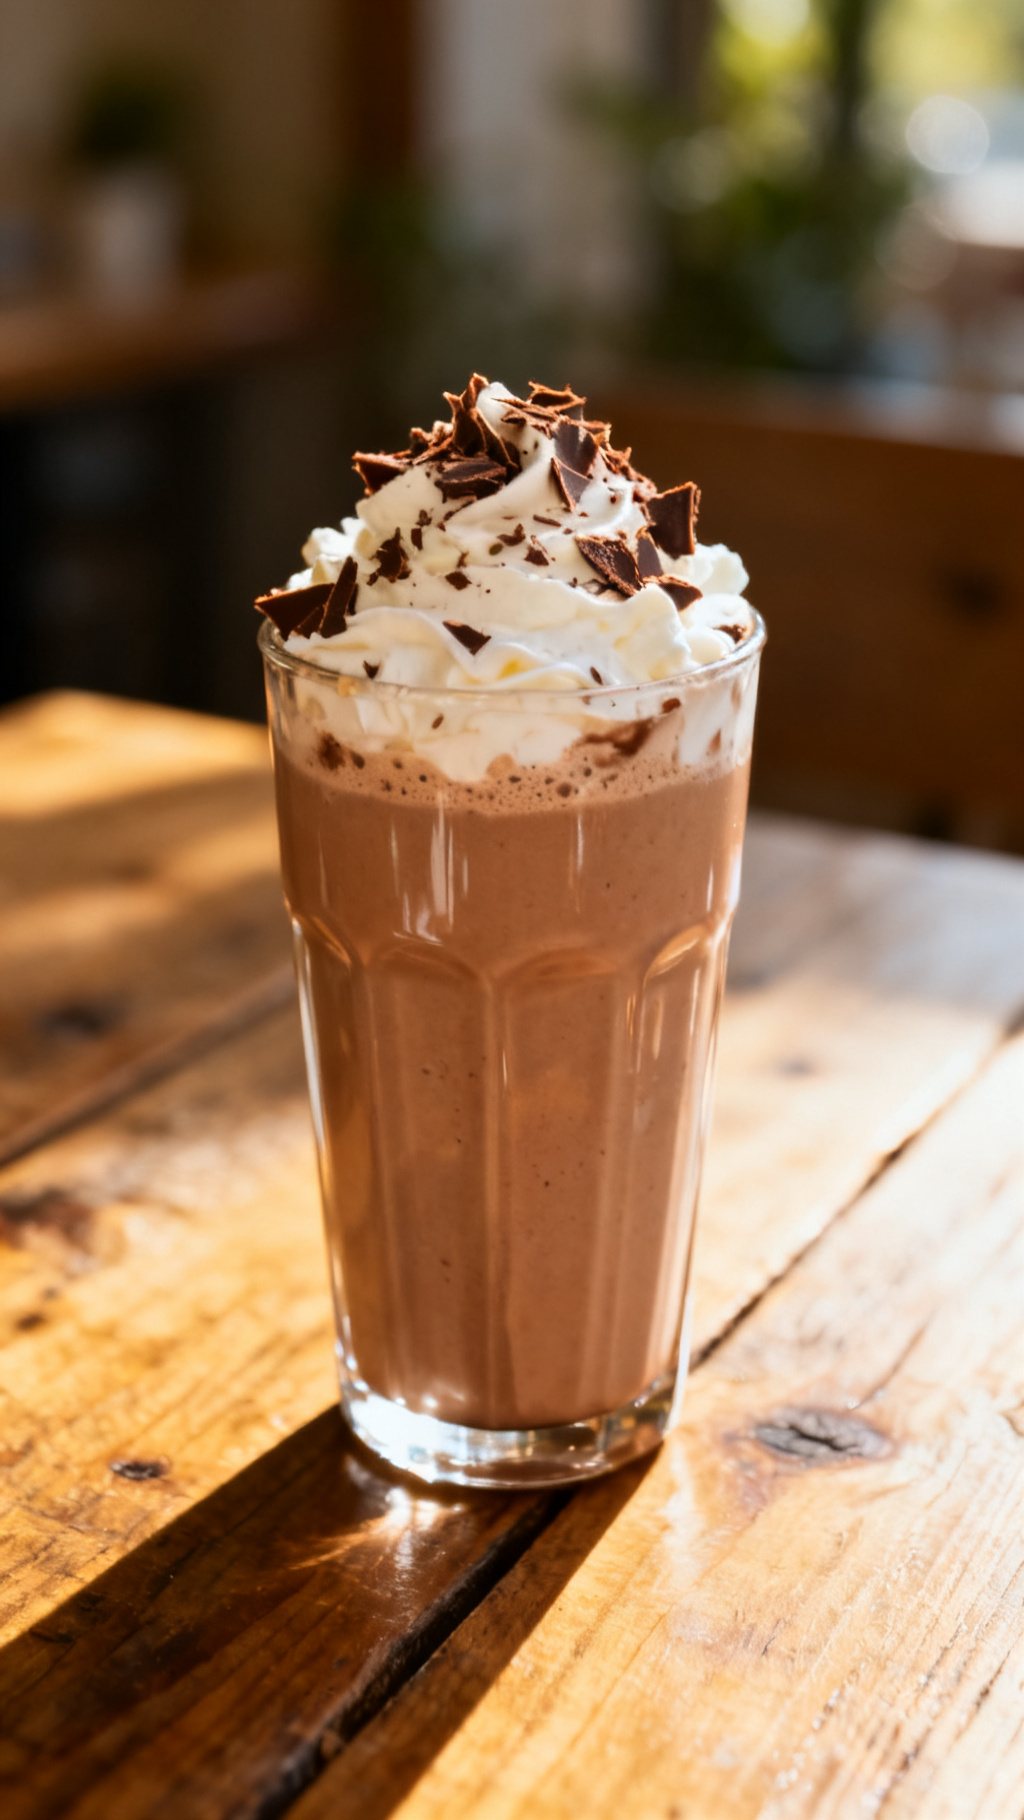
- Top with whipped cream and garnish with chocolate shavings or chopped hazelnuts if desired for extra indulgence.

Ingredient Alternatives & Substitutions
- Replace whole milk with almond milk for a lighter, dairy-free shake—I’ve tested this and it still tastes velvety
- Use chocolate or coffee ice cream instead of vanilla for a different flavor twist that I enjoy personally
- Swap Nutella for peanut butter and a drizzle of honey for a nutty alternative I sometimes make
- Add a scoop of protein powder for a post-workout treat that I occasionally have
- Incorporate a teaspoon of espresso powder to deepen the milkshake flavor, something I recommend for coffee lovers
Storage Instructions
- Store any leftover milkshake in an airtight container in the freezer for up to 2 days, though I recommend enjoying fresh
- If freezing, allow it to thaw slightly and stir vigorously before serving to regain creaminess
- Keep Nutella sealed tightly at room temperature to maintain its spreadability for future shakes
- Leftover vanilla ice cream should be kept in the coldest part of your freezer and tightly covered to avoid freezer burn
Common Mistakes to Avoid
- Using low-fat or melted ice cream: I learned this the hard way because it results in a watery milkshake
- Over-blending: I’ve found it thins the texture and reduces the frothy richness I love
- Skipping the pinch of salt: once missed, the Nutella flavor falls flat compared to when I add it
- Adding too much milk at first: I always add gradually to avoid thinning the shake excessively
- Pouring into warm glasses: it melts the milkshake too quickly, which I avoid by chilling glasses
Frequently Asked Questions
Q: Can I use frozen Nutella instead of the regular spread?
Ans: I haven’t tried frozen Nutella, but I suspect it would be tough to blend smoothly. I always use room-temperature Nutella spread for the best texture.
Q: Is it necessary to add salt in this recipe?
Ans: In my experience, the small amount of salt really brings out the chocolate notes in Nutella, but if you prefer, you can leave it out without major impact.
Q: How do I make this milkshake vegan?
Ans: I recommend swapping vanilla ice cream for a plant-based variety and using almond or oat milk instead of dairy milk—I’ve made this version and enjoyed it just as much.
Conclusion
I hope you try this Nutella milkshake recipe soon—it’s one of my favorite quick treats that never disappoints. With simple ingredients and a few insider tips, you can enjoy a perfectly creamy, chocolatey indulgence anytime.