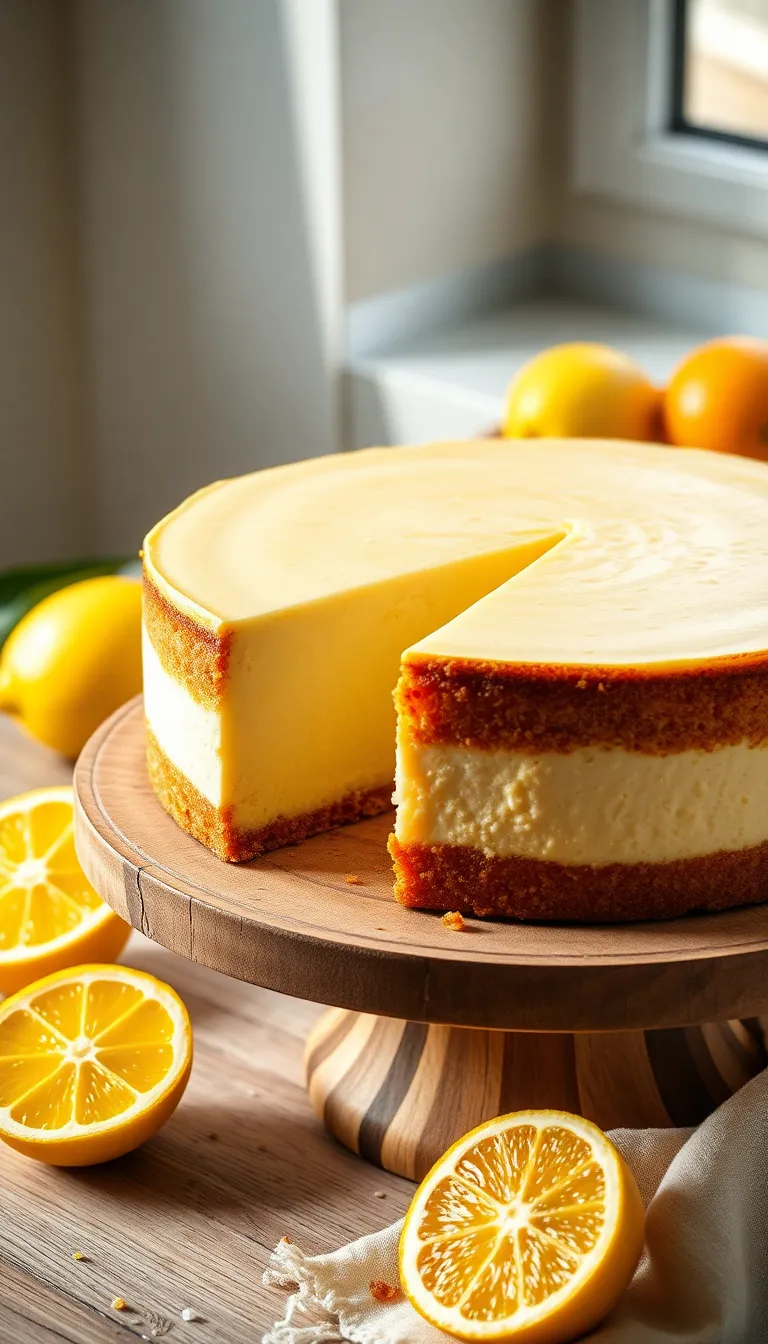


Gluten-Free Lemon Bars – The Perfect Balance of Sweet and Tart

I discovered the magic of gluten-free lemon bars when I realized traditional versions left me feeling heavy and unsatisfied. The crisp, buttery crust paired with a tangy, silky lemon layer completely changed my perspective on gluten-free desserts.
Gluten-Free Lemon Bars – The Perfect Balance of Sweet and Tart
Ingredients
- 1 1/2 cups almond flour
- 1/4 cup coconut flour
- 1/4 cup powdered sugar
- 1/4 teaspoon salt
- 1/2 cup unsalted butter, melted
- 3 large eggs
- 1 cup granulated sugar
- 2 tablespoons gluten-free all-purpose flour
- 1/2 cup freshly squeezed lemon juice (about 3 lemons)
- 1 tablespoon lemon zest
Instructions
- Preheat the oven to 350°F (175°C) and grease an 8×8-inch baking pan
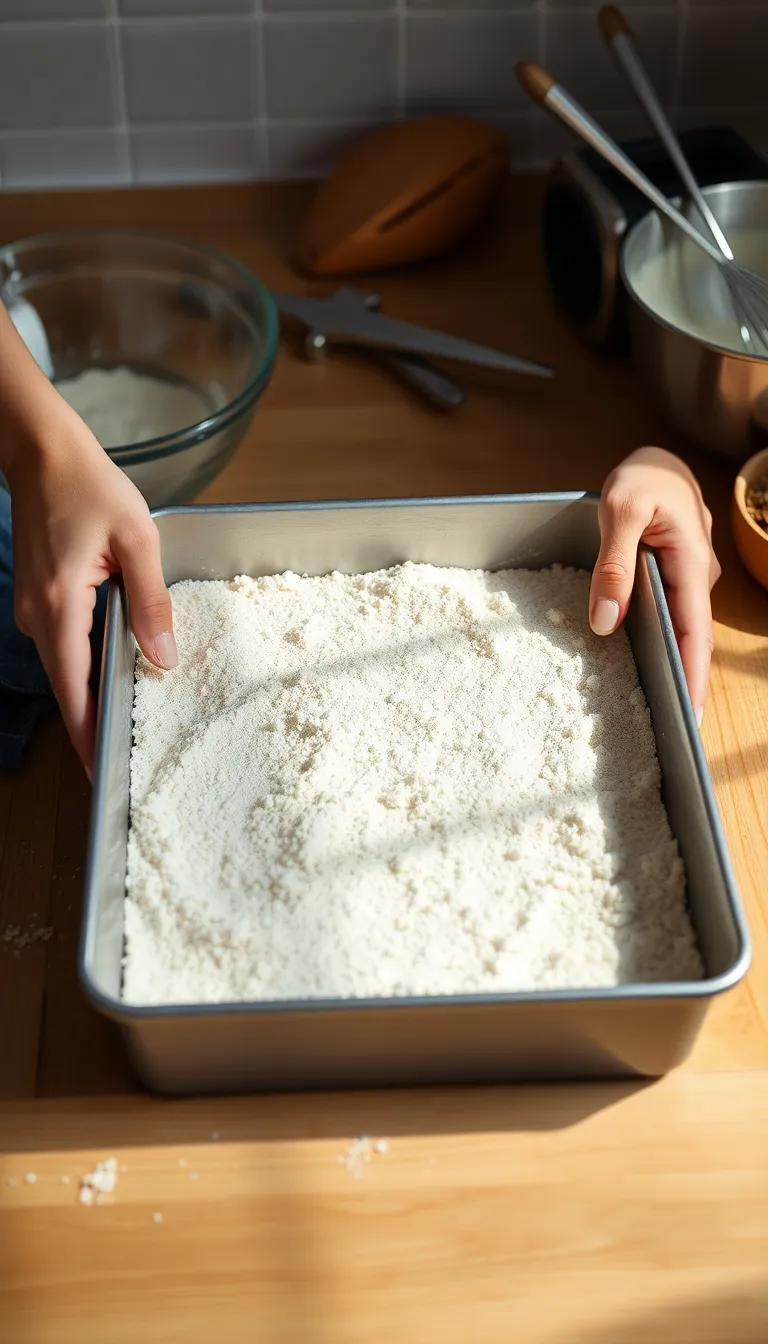
- In a mixing bowl, combine almond flour, coconut flour, powdered sugar, and salt; then stir in melted butter until mixture is crumbly but holds together when pressed
- Press the crust mixture evenly into the bottom of the prepared pan, pressing firmly with your fingers or the bottom of a glass — I find this helps get an even layer
Key Takeaways
- Use finely ground almond flour for a tender crust
- Chill the crust before baking to prevent shrinking
- Strain the lemon filling for a smooth texture
- Cool completely before slicing for clean bars
Why This Recipe Works
I always recommend starting with a well-chilled crust to get that perfect snap in every bite. The almond flour blends into the gluten-free base so well, providing both flavor and structure. This combination gives the bars an ideal balance of crumbly and chewy textures.
Pro Tip: Chill the crust dough thoroughly before pressing into the pan
The Science of Lemon Curd Filling
I find that straining the filling is key to a velvety, lump-free lemon layer. The eggs and lemon juice cook gently into a thick custard that firms up beautifully as it cools. This technique ensures brightness without bitterness or graininess.
Fact: Lemon juice acid helps thicken the filling when cooked with eggs
Personal Baking Insights
I’ve learned that allowing the bars to cool fully — and even chilling them overnight — improves slicing and flavor melding. This patience pays off in sharp edges and a satisfying sweet-tart harmony you’ll want to make again and again.
Insight: I always chill the bars overnight for best results
Ingredients
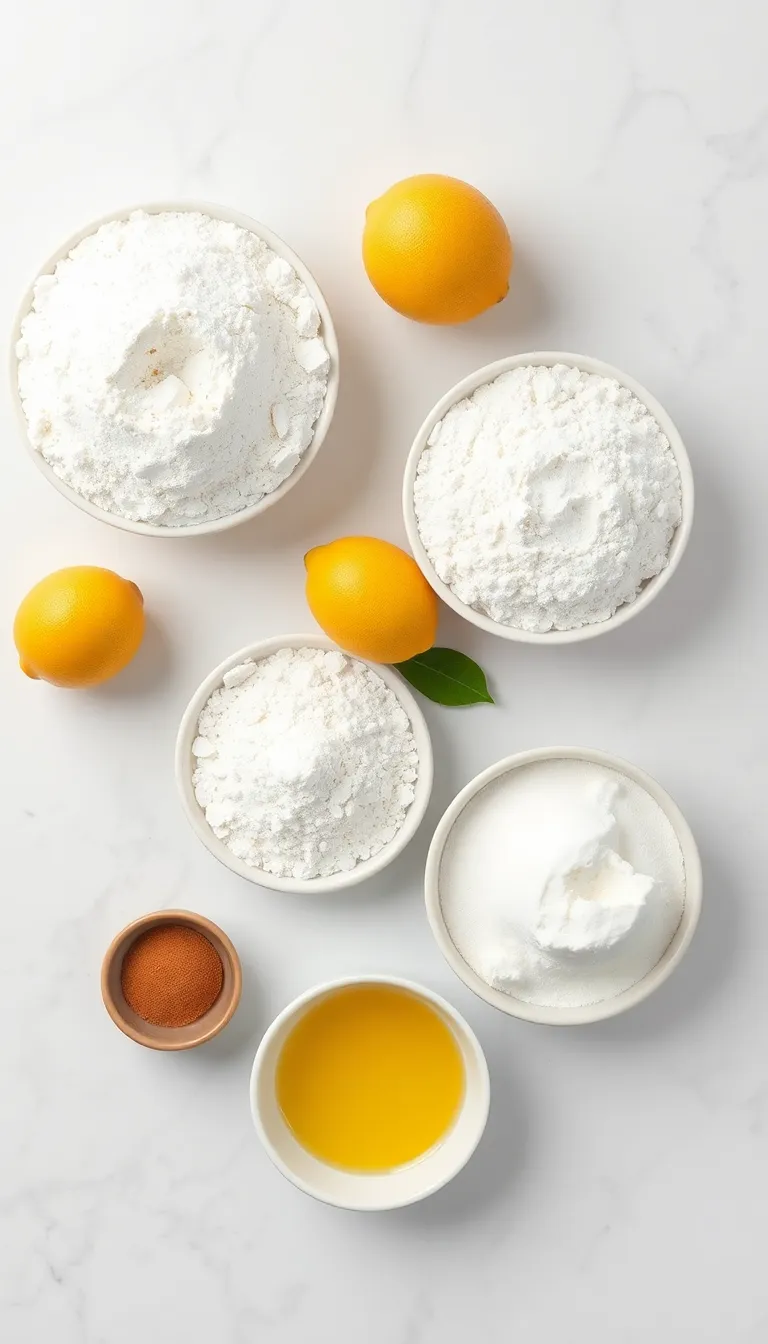
- 1 1/2 cups almond flour
- 1/4 cup coconut flour
- 1/4 cup powdered sugar
- 1/4 teaspoon salt
- 1/2 cup unsalted butter, melted
- 3 large eggs
- 1 cup granulated sugar
- 2 tablespoons gluten-free all-purpose flour
- 1/2 cup freshly squeezed lemon juice (about 3 lemons)
- 1 tablespoon lemon zest
Instructions
- Preheat the oven to 350°F (175°C) and grease an 8×8-inch baking pan
- In a mixing bowl, combine almond flour, coconut flour, powdered sugar, and salt; then stir in melted butter until mixture is crumbly but holds together when pressed
- Press the crust mixture evenly into the bottom of the prepared pan, pressing firmly with your fingers or the bottom of a glass — I find this helps get an even layer
- Chill the crust in the fridge for 15 minutes, then bake for 15 minutes until lightly golden; set aside to cool slightly
- Meanwhile, whisk together eggs and granulated sugar in a bowl until smooth and pale
- Add gluten-free flour, lemon juice, and lemon zest to the egg mixture, stirring well to combine; then strain through a fine sieve to remove any curdled bits for a silky finish
- Pour the lemon filling over the warm crust and bake for an additional 15 minutes, or until the filling is just set but still slightly jiggly in the center
- Allow the bars to cool completely on a wire rack, then refrigerate for at least 2 hours or overnight for best slicing
- Use a sharp knife to cut into bars, wiping the blade clean between cuts for neat squares
- Serve chilled or at room temperature, optionally dusted with powdered sugar
Ingredient Alternatives & Substitutions
- Replace almond flour with a gluten-free oat flour blend for a nuttier flavor — I tested this and it adds great texture
- Use vegan butter instead of unsalted butter for a dairy-free option; results are slightly softer but still delicious
- Substitute maple syrup for granulated sugar in the filling to deepen the sweetness, though it may alter the tang slightly
- Add fresh basil or thyme to the crust for an herbal twist — I enjoy this variation especially in spring
- Swap lemon zest for lime zest for a different citrus note — I found it refreshingly vibrant
Storage Instructions
- Store lemon bars in an airtight container in the refrigerator for up to 5 days
- Cover with plastic wrap to prevent the bars from drying out and absorbing fridge odors
- Freeze individual bars wrapped tightly in foil and placed in a freezer-safe bag for up to 3 months
- Thaw frozen bars overnight in the refrigerator for best texture and flavor
Common Mistakes to Avoid
- Not chilling the crust enough — I learned this the hard way as the crust shrank and cracked during baking
- Skipping the straining step for the filling caused me grainy texture once
- Cutting the bars before they fully cooled results in messy edges; patience is key
- Using bottled lemon juice can make the filling less bright; fresh lemons elevate the flavor distinctly
- Overbaking the filling makes it rubbery rather than silky, which I discovered after rushing the timing
Frequently Asked Questions
Q: Can I make these lemon bars dairy-free?
Ans: Yes, I’ve successfully used vegan butter in place of unsalted butter, which yields slightly softer bars but maintains great flavor.
Q: How do I get clean cuts on my lemon bars?
Ans: I always chill the bars completely and wipe my knife with a warm, damp cloth between cuts for sharp, neat edges.
Q: Will these lemon bars be too tart for kids?
Ans: In my experience, the balance of powdered sugar in the crust and sweetness in the filling softens the tartness, making them kid-friendly yet flavorful.
Conclusion
I’ve found this gluten-free lemon bars recipe delivers a delightful balance of flavors and textures that impress both gluten-free and traditional dessert lovers. If you’re looking for a reliable, bright, and satisfying treat, I highly encourage you to try this recipe — I know it will become a favorite in your repertoire.