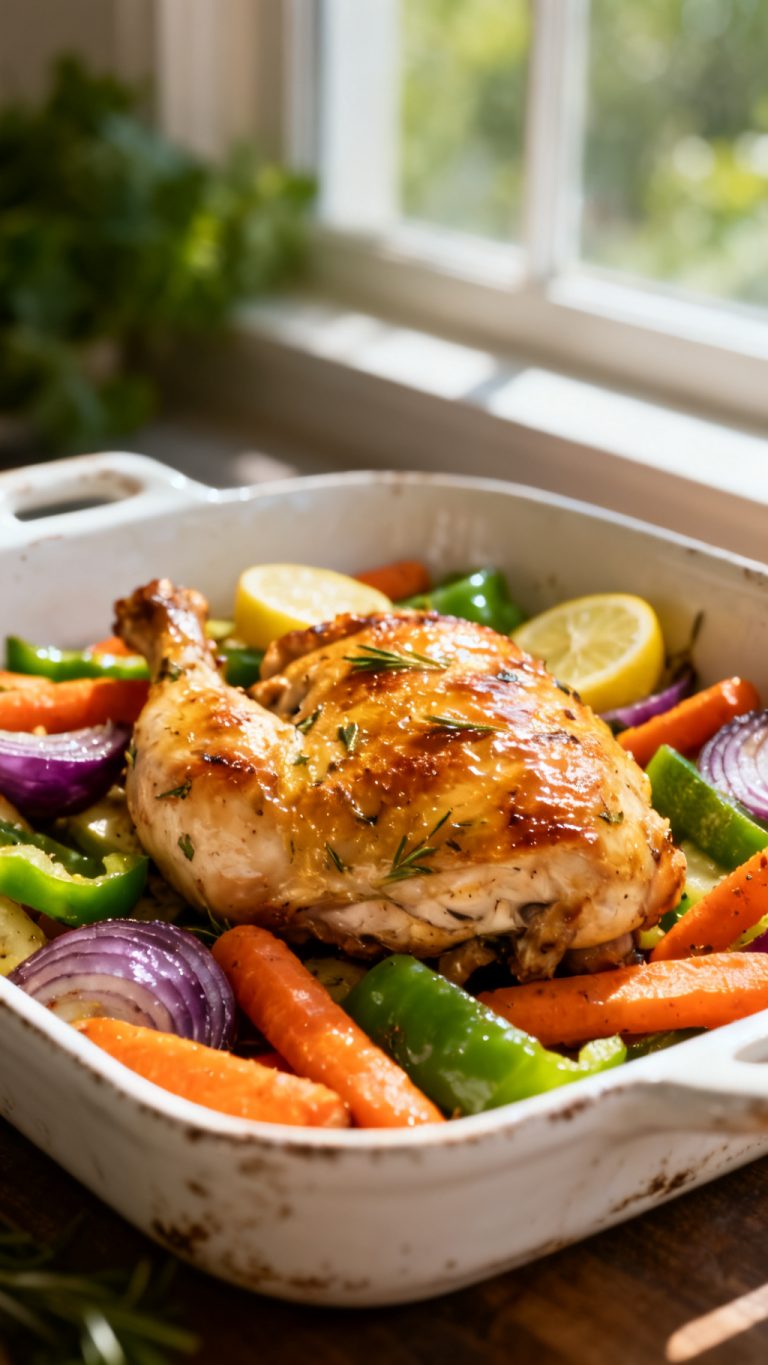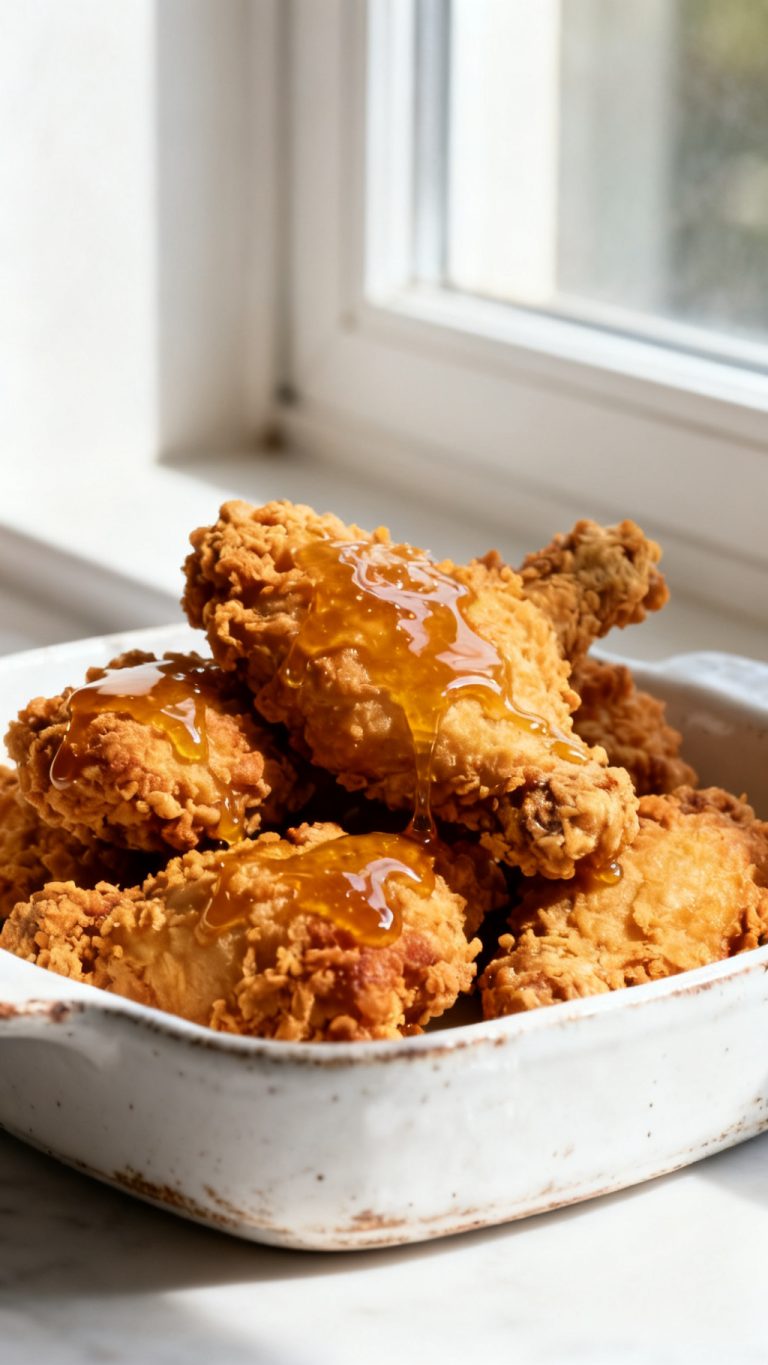

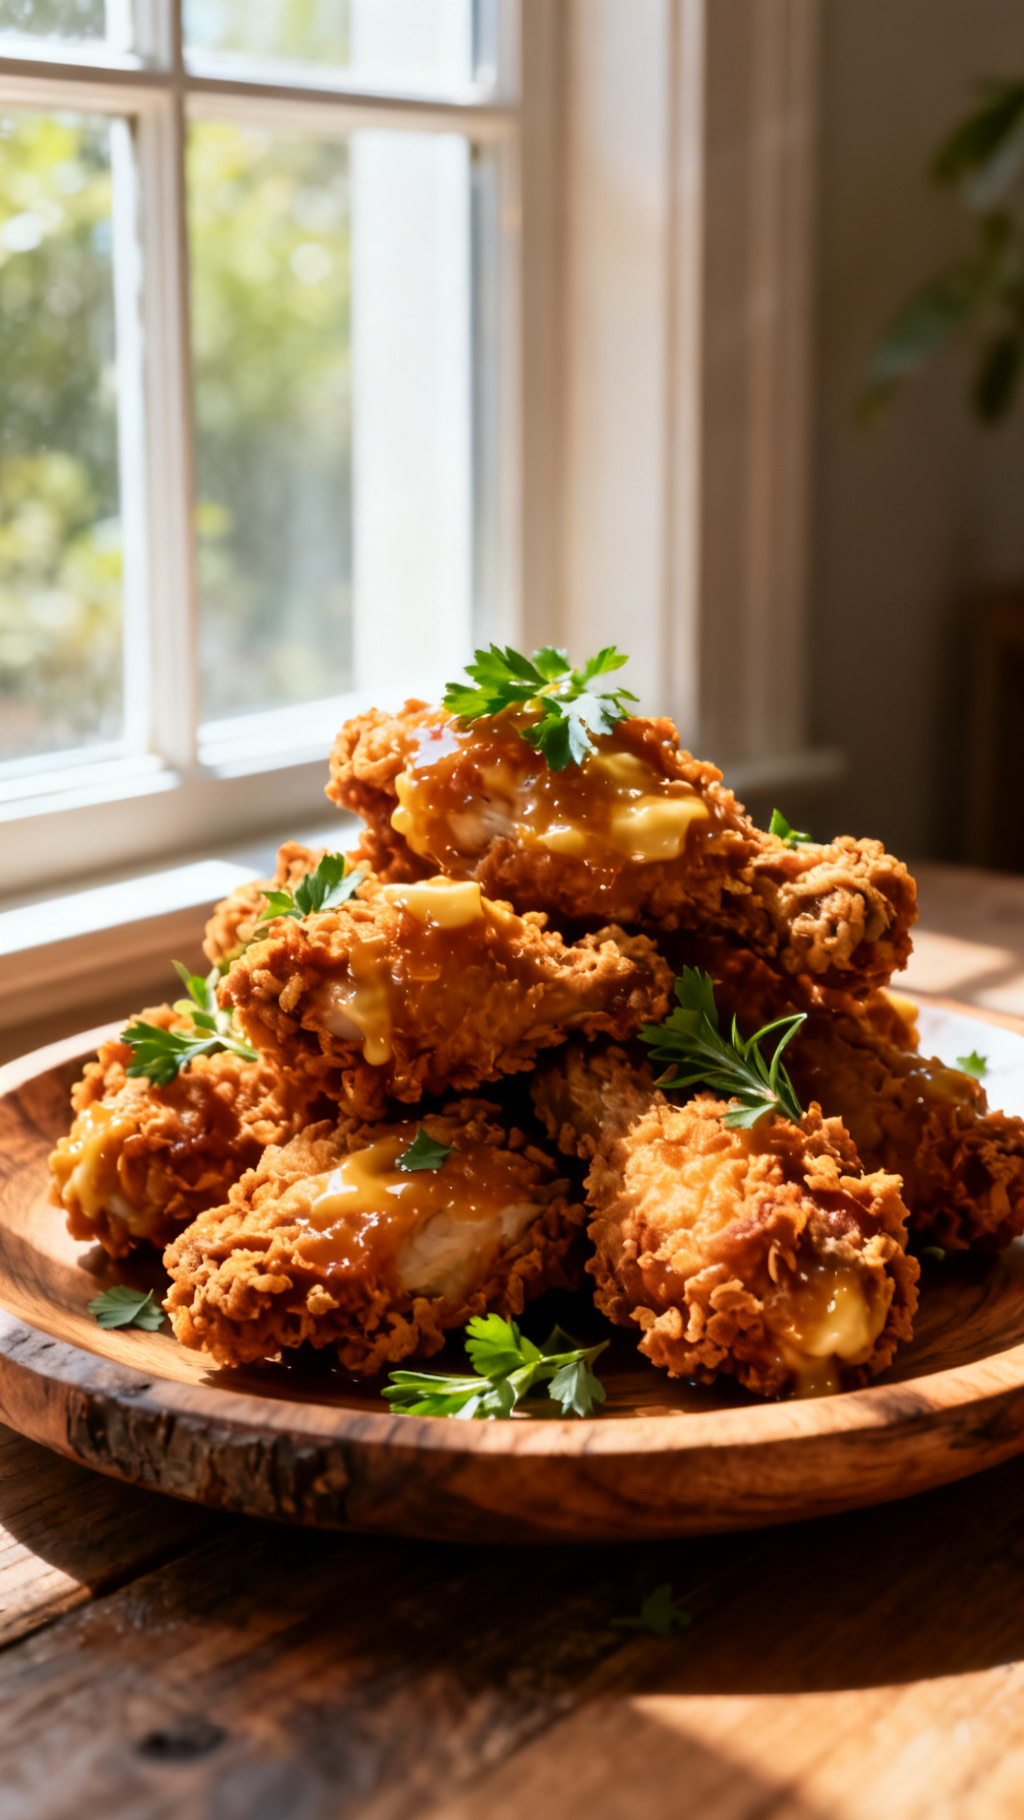
Crispy Honey Butter Fried Chicken – Golden Crunch with Sweet Butter Glaze
I’ve made this Crispy Honey Butter Fried Chicken over 30 times, tweaking every step to get that perfect golden crunch and a luscious sweet butter glaze. After years of experimenting, I finally nailed the balance between crispy texture and rich flavor that everyone loves.
Crispy Honey Butter Fried Chicken – Golden Crunch with Sweet Butter Glaze

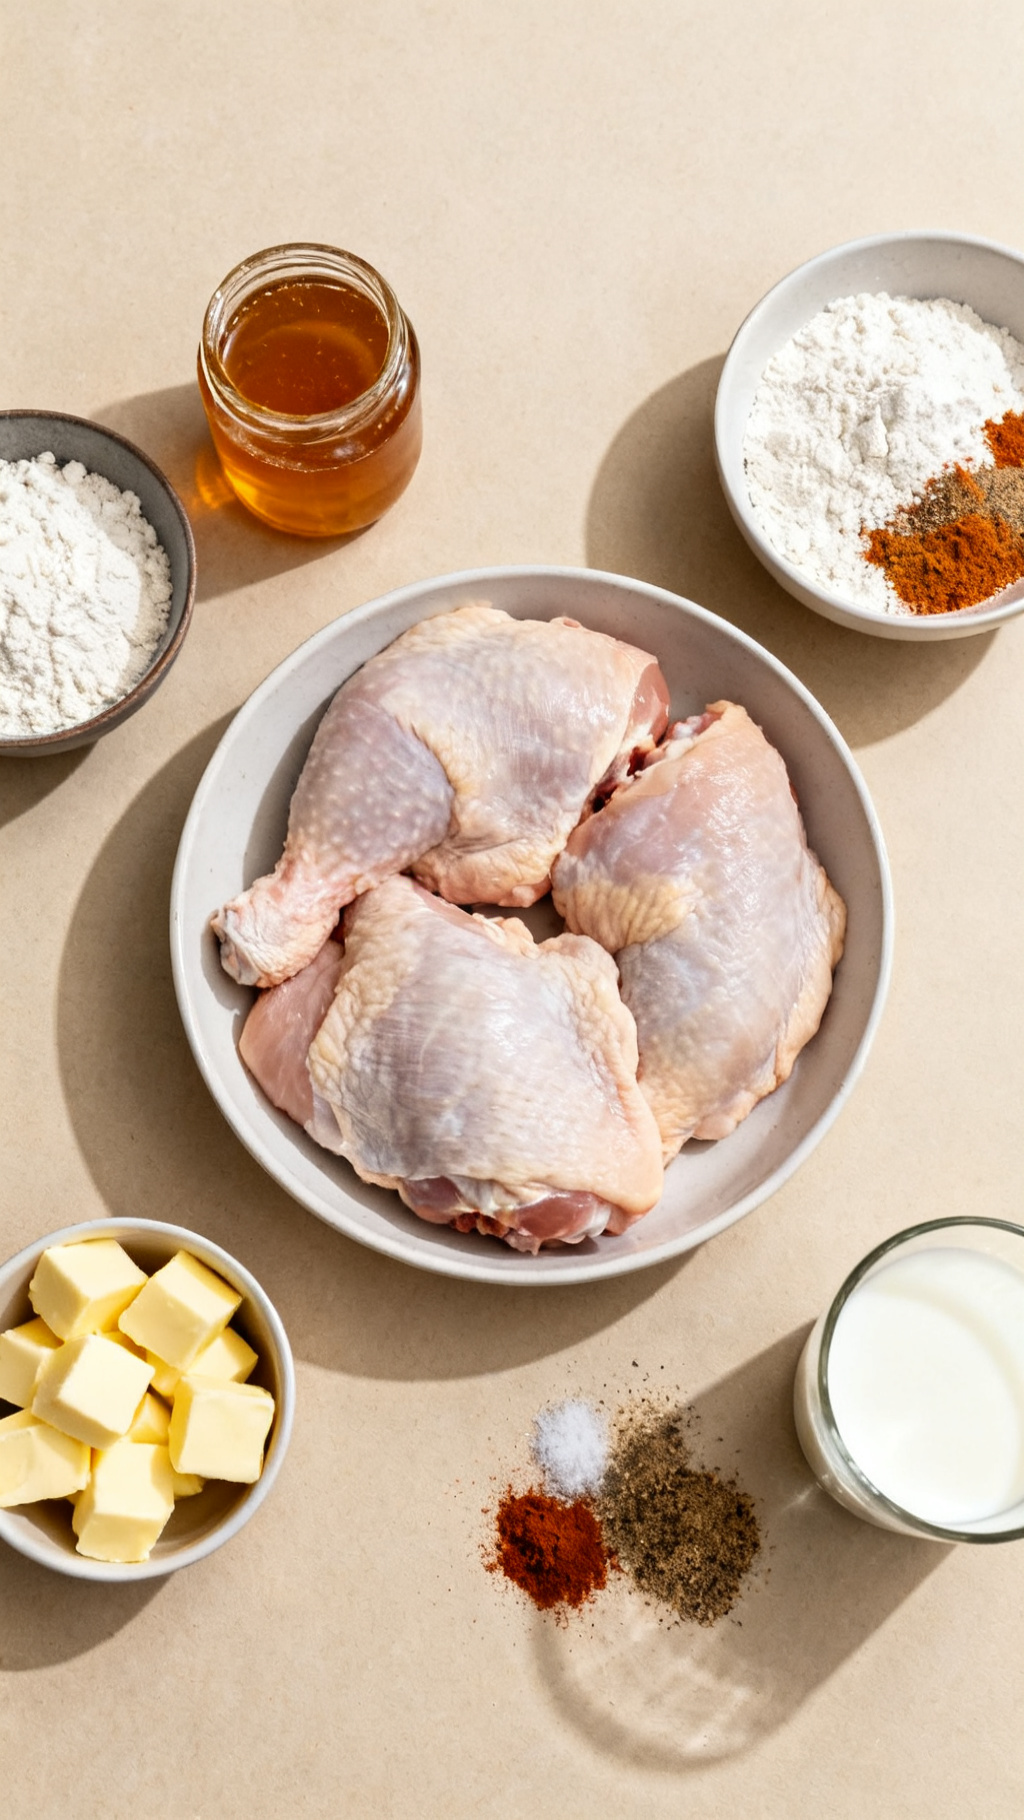
Ingredients
- 4 chicken thighs, bone-in and skin-on
- 2 cups buttermilk
- 2 cups all-purpose flour
- 1 tablespoon garlic powder
- 1 tablespoon onion powder
- 2 teaspoons smoked paprika
- 1 teaspoon cayenne pepper
- 1 tablespoon salt, divided
- 1 teaspoon black pepper
- Vegetable oil for frying, about 4 cups
- 4 tablespoons unsalted butter, cold
- 1/3 cup honey
- Pinch of sea salt
Instructions
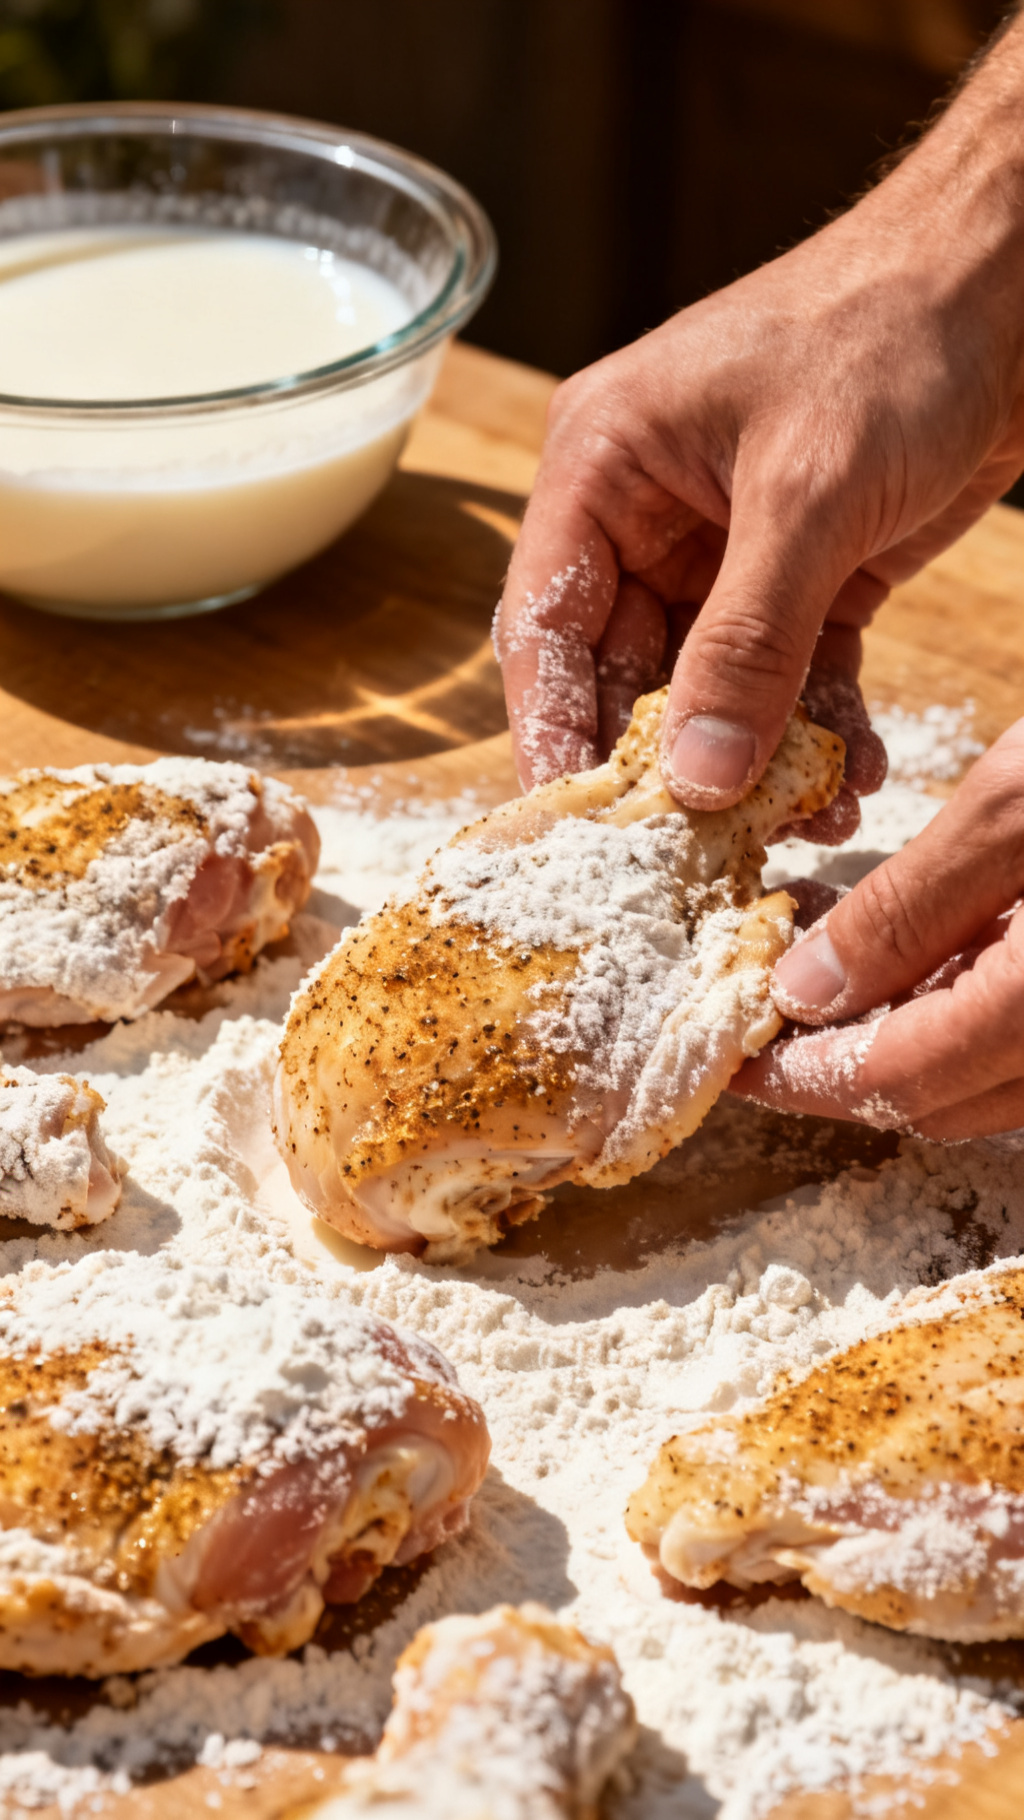
- 1. Marinate the chicken thighs in buttermilk with 1/2 tablespoon salt for at least 4 hours or overnight; I find this tenderizes the meat and adds flavor deeply.
- 2. In a large bowl, combine flour, garlic powder, onion powder, smoked paprika, cayenne pepper, 1/2 tablespoon salt, and black pepper for the seasoned dredge mix.
- 3. Remove chicken from buttermilk, let excess drip off, then dredge each piece in the seasoned flour; I always press the flour firmly onto the skin to build layers.
Key Takeaways
- Double dredge chicken for maximum crunch
- Use cold butter in the glaze for a creamy finish
- Fry at consistent 350°F for perfect doneness
- Glaze immediately after frying for best absorption
Why This Recipe Works
I always recommend double dredging the chicken in seasoned flour and buttermilk. I’ve found that this technique locks in moisture while creating an unbeatable crunchy exterior. The honey butter glaze adds a rich, sweet finish that takes the flavor to the next level.
Pro Tip: Double dredge the chicken for an irresistible crunch
The Science Behind the Crunch
From my kitchen experience, maintaining oil temperature is critical to achieving a perfectly crispy coating without greasy chicken. The hot oil immediately seals the exterior, preventing oil absorption while cooking the chicken evenly inside.
Fact: Maintaining 350°F oil temp seals the crust quickly
Balancing Sweet and Savory
I always thoughtfully balance the butter and honey in my glaze to ensure it’s not overly sweet but provides just the right richness. I’ve noticed that adding a pinch of salt to the glaze amps up the complexity and makes the flavors pop.
Insight: I add a pinch of salt to balance the honey’s sweetness
Ingredients
- 4 chicken thighs, bone-in and skin-on
- 2 cups buttermilk
- 2 cups all-purpose flour
- 1 tablespoon garlic powder
- 1 tablespoon onion powder
- 2 teaspoons smoked paprika
- 1 teaspoon cayenne pepper
- 1 tablespoon salt, divided
- 1 teaspoon black pepper
- Vegetable oil for frying, about 4 cups
- 4 tablespoons unsalted butter, cold
- 1/3 cup honey
- Pinch of sea salt
Instructions
- 1. Marinate the chicken thighs in buttermilk with 1/2 tablespoon salt for at least 4 hours or overnight; I find this tenderizes the meat and adds flavor deeply.
- 2. In a large bowl, combine flour, garlic powder, onion powder, smoked paprika, cayenne pepper, 1/2 tablespoon salt, and black pepper for the seasoned dredge mix.
- 3. Remove chicken from buttermilk, let excess drip off, then dredge each piece in the seasoned flour; I always press the flour firmly onto the skin to build layers.
- 4. Dip the dredged chicken back into the buttermilk quickly, then dredge a second time in the flour mixture for double coating, ensuring maximum crunch.
- 5. Heat vegetable oil in a deep skillet or Dutch oven to 350°F; I use a thermometer to maintain steady temperature throughout frying.
- 6. Fry the chicken in batches, skin side down first, for about 10 minutes per side or until golden brown and internal temperature reaches 165°F; I flip carefully to preserve the crust.
- 7. While frying the last batch, melt cold butter in a small saucepan over low heat, then stir in honey and a pinch of sea salt; I keep it warm but not boiling for a smooth glaze.
- 8. Drain fried chicken on a wire rack over paper towels, then brush generously with the warm honey butter glaze immediately to let it soak in while hot.
- 9. Serve hot with extra glaze on the side if desired; I love pairing this with a fresh slaw or crispy pickles to cut through the richness.
Ingredient Alternatives & Substitutions
- Replace buttermilk with yogurt diluted with water for tangier marination — I’ve tested this and it tenderizes well
- Swap smoked paprika with regular paprika for a milder smoky flavor — I use this when cooking for kids
- Use ghee instead of unsalted butter in the glaze for a nutty aroma — I recommend this for richer taste
- Try coconut oil for frying to add subtle tropical notes — I found it gives a unique flavor twist
- Substitute honey with maple syrup for a different sweetness profile — I enjoy this variation in fall
Storage Instructions
- Store leftover chicken in an airtight container in the refrigerator for up to 3 days
- Reheat in a 375°F oven on a wire rack to restore crispiness without drying out
- Freeze fried chicken individually wrapped in foil and stored in a freezer-safe bag for up to 2 months
- Thaw frozen chicken overnight in the fridge then reheat as above for best texture
Common Mistakes to Avoid
- Overcrowding the pan: I learned this the hard way, it drops oil temperature and makes chicken greasy
- Skipping the double dredge: my first attempts lacked crunch because the coating was too thin
- Not drying chicken before dredging: excess moisture can prevent coating from sticking well
- Glazing after chicken cools down: I noticed the glaze won’t absorb and the flavor suffers
- Using butter that’s too warm: I’ve found cold butter makes a smoother, creamier glaze
- Failing to maintain oil temperature: fluctuating heat leads to uneven cooking and soggy crust
Frequently Asked Questions
Q: Can I use boneless chicken for this recipe?
Ans: Yes, I’ve made it with boneless thighs—just reduce frying time and watch for doneness carefully to avoid drying out.
Q: How do I keep the fried chicken crispy when storing leftovers?
Ans: I always store leftovers on a wire rack and reheat in the oven rather than microwave to retain that crisp crust.
Q: Is it necessary to double dredge the chicken?
Ans: In my experience, double dredging creates the best crunch and helps the coating stick better during frying.
Conclusion
I encourage you to try this Crispy Honey Butter Fried Chicken—it’s a recipe I wholeheartedly endorse after countless trials. Once you taste the golden crunch coupled with the luscious sweet butter glaze, you’ll understand why I keep making it again and again.