
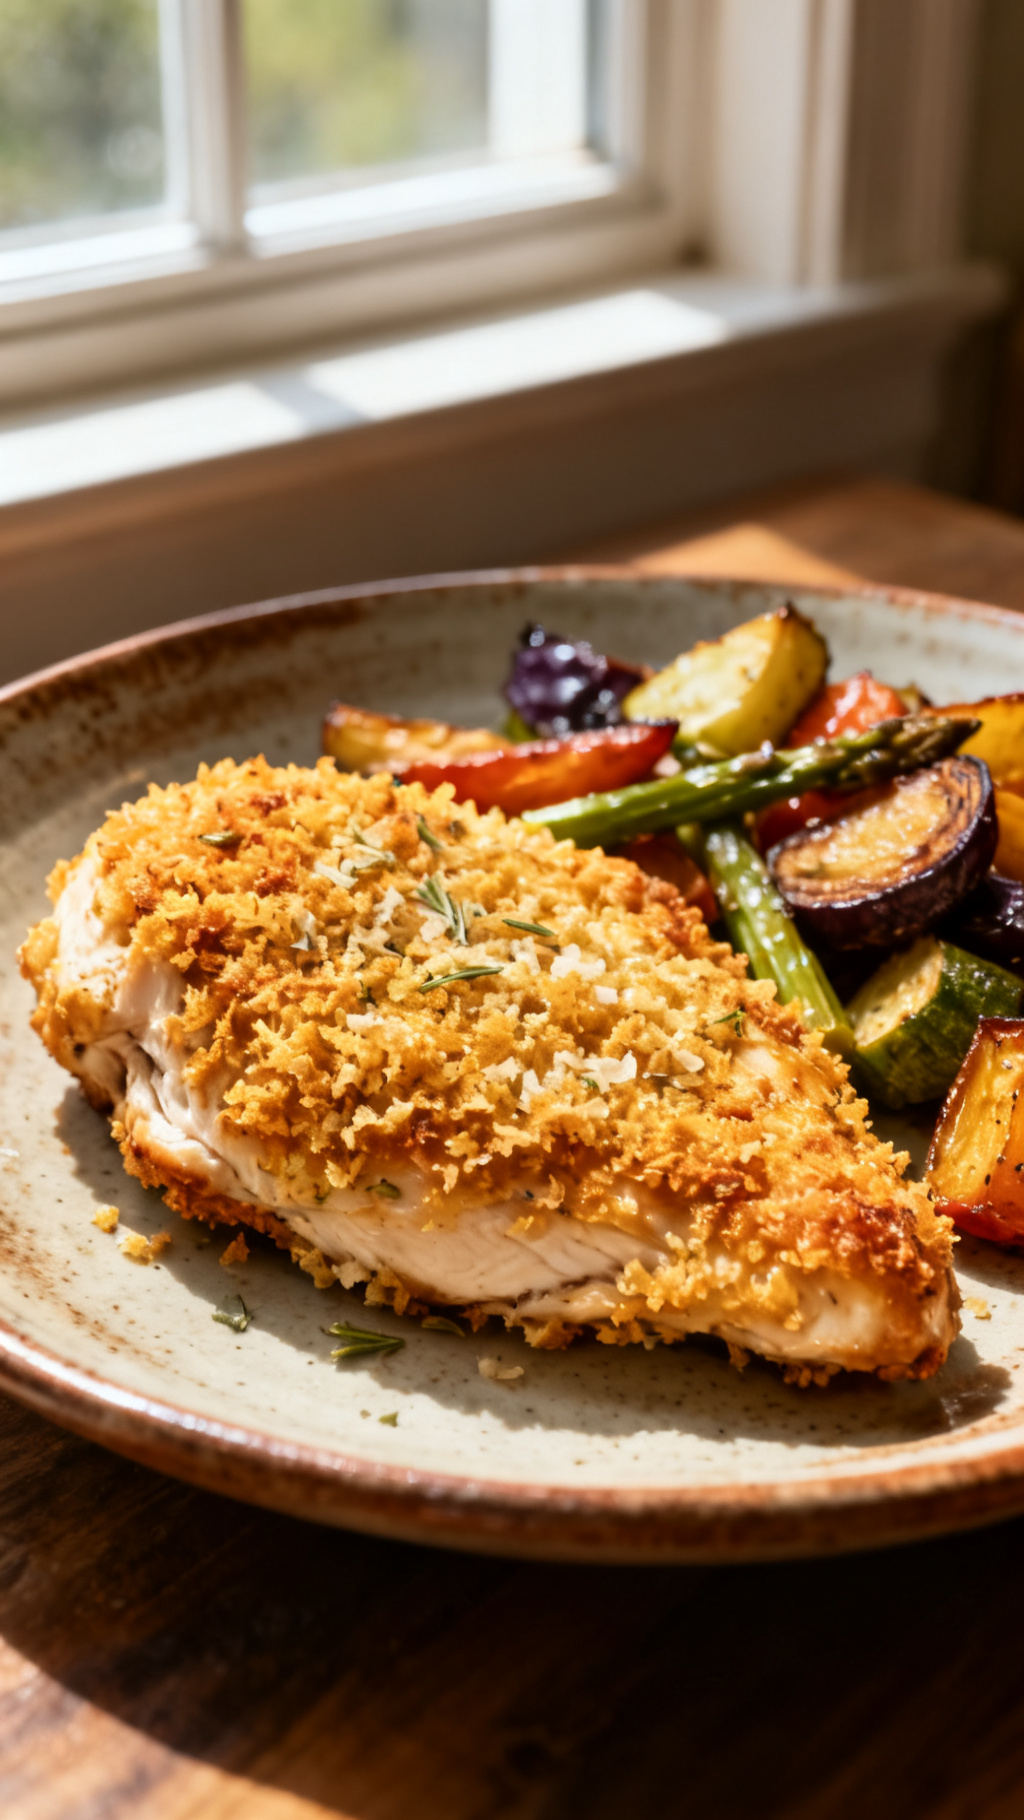
Garlic Parmesan Crusted Chicken – Delicious Baked Chicken Recipe
I’ve made Garlic Parmesan Crusted Chicken countless times and perfected it until the crust is perfectly crispy and bursting with flavor. After years of experimenting, I finally nailed this baked chicken recipe that’s both simple and impressively delicious.
Garlic Parmesan Crusted Chicken – Delicious Baked Chicken Recipe

Ingredients
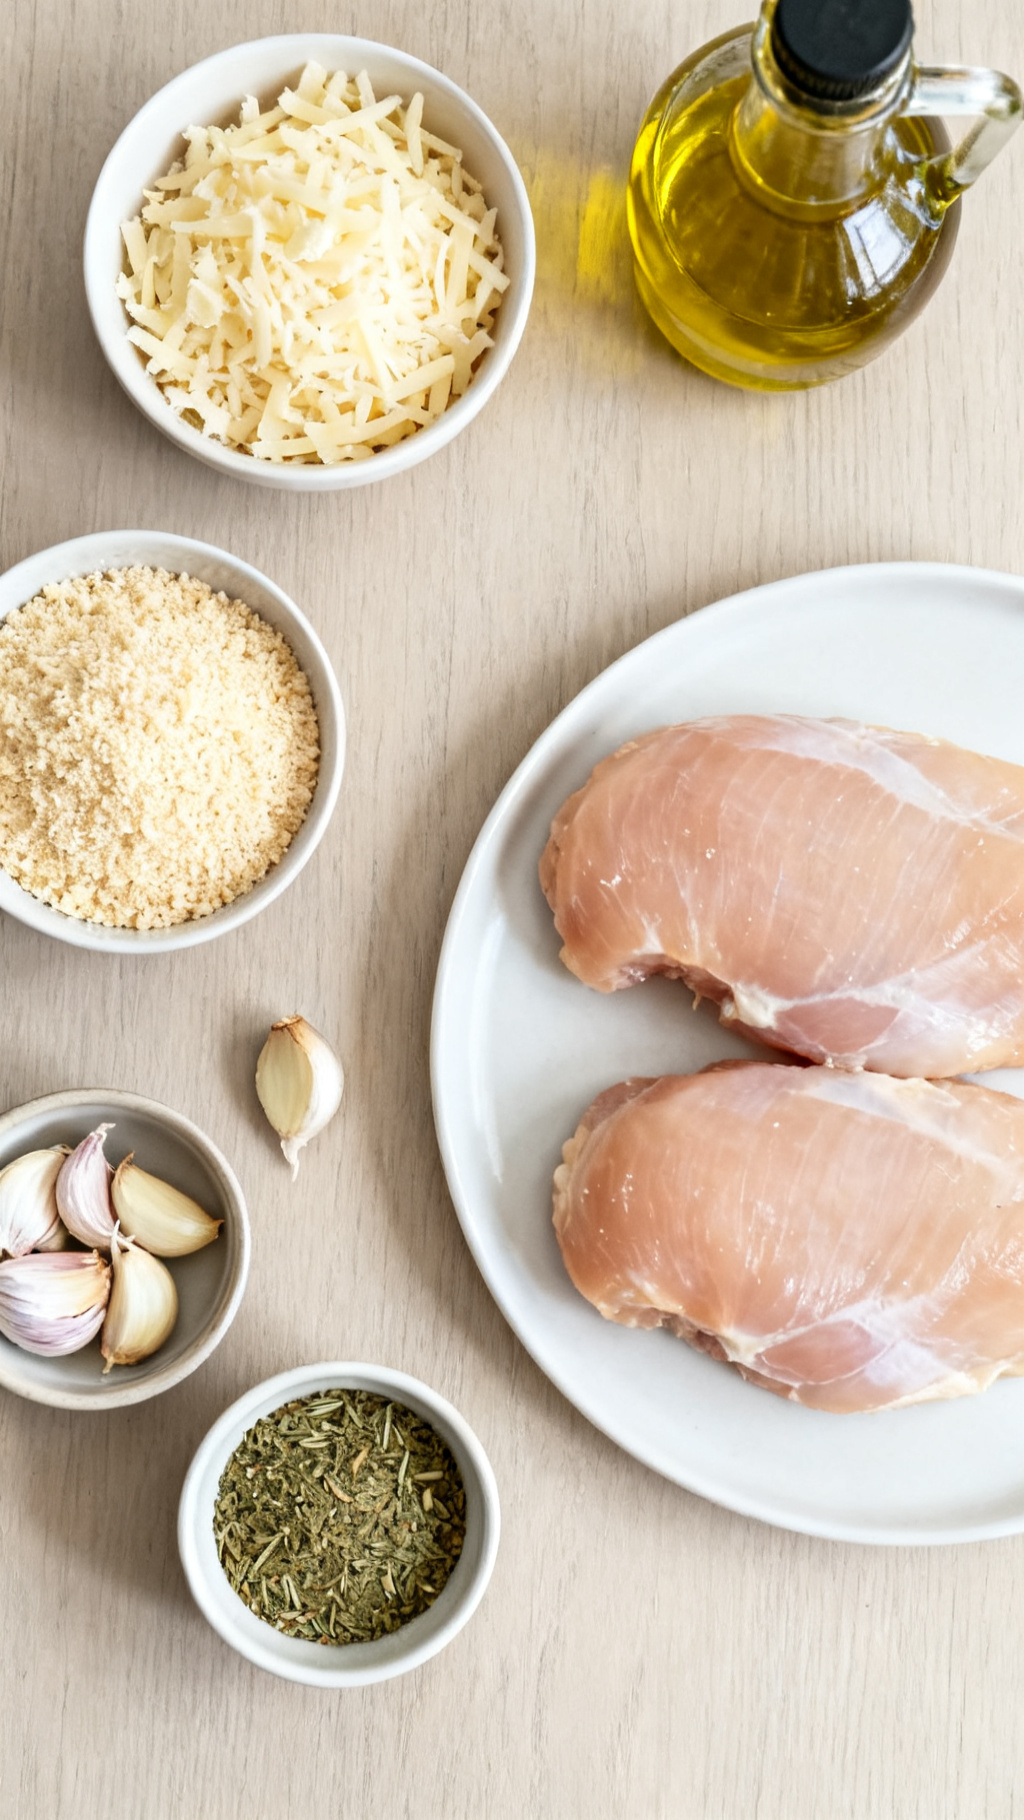
- 4 boneless skinless chicken breasts (about 6 ounces each)
- 1/2 cup grated Parmesan cheese
- 3/4 cup panko bread crumbs
- 3 cloves garlic, minced
- 1 teaspoon dried Italian seasoning
- 1/2 teaspoon salt
- 1/4 teaspoon black pepper
- 2 tablespoons olive oil
- 1 large egg
- 1 tablespoon water
Instructions
- Preheat your oven to 400°F (200°C) and line a baking sheet with parchment paper or lightly grease it; I use parchment to reduce cleanup.
- In a shallow bowl, whisk together the egg and water until combined; this acts as the binding agent for the crust.
- In a separate bowl, combine Parmesan, panko, minced garlic, Italian seasoning, salt, and pepper; I always freshly grate the Parmesan for the best flavor.
Key Takeaways
- Use freshly grated Parmesan for best crust flavor
- Pat chicken dry to ensure a crispy crust
- Bake uncovered for a crunchy exterior
- Let chicken rest before slicing for juiciness
Why This Recipe Works
I always recommend patting the chicken breasts dry before applying the coating to get that perfect crunchy crust. The combination of garlic and Parmesan creates a savory profile that crisps beautifully in the oven without needing frying.
Pro Tip: Dry the chicken well to maximize crust crunch
The Magic of Parmesan in Crusted Chicken
I’ve found that Parmesan cheese not only adds a salty, umami kick but also browns nicely during baking, which elevates the texture and flavor of the crust. This technique transforms a simple chicken breast into a dish worthy of the dinner table.
Fact: Parmesan crisps up to add a natural golden crust
My Secret Technique for Juicy Chicken
I always let the chicken rest at least 5 minutes after baking. This helps redistribute the juices and keeps the meat tender inside while maintaining the crispy crust outside. It’s a small step that makes a big difference.
Insight: I never skip resting to keep chicken juicy and tender
Ingredients
- 4 boneless skinless chicken breasts (about 6 ounces each)
- 1/2 cup grated Parmesan cheese
- 3/4 cup panko bread crumbs
- 3 cloves garlic, minced
- 1 teaspoon dried Italian seasoning
- 1/2 teaspoon salt
- 1/4 teaspoon black pepper
- 2 tablespoons olive oil
- 1 large egg
- 1 tablespoon water
Instructions
- Preheat your oven to 400°F (200°C) and line a baking sheet with parchment paper or lightly grease it; I use parchment to reduce cleanup.
- In a shallow bowl, whisk together the egg and water until combined; this acts as the binding agent for the crust.
- In a separate bowl, combine Parmesan, panko, minced garlic, Italian seasoning, salt, and pepper; I always freshly grate the Parmesan for the best flavor.
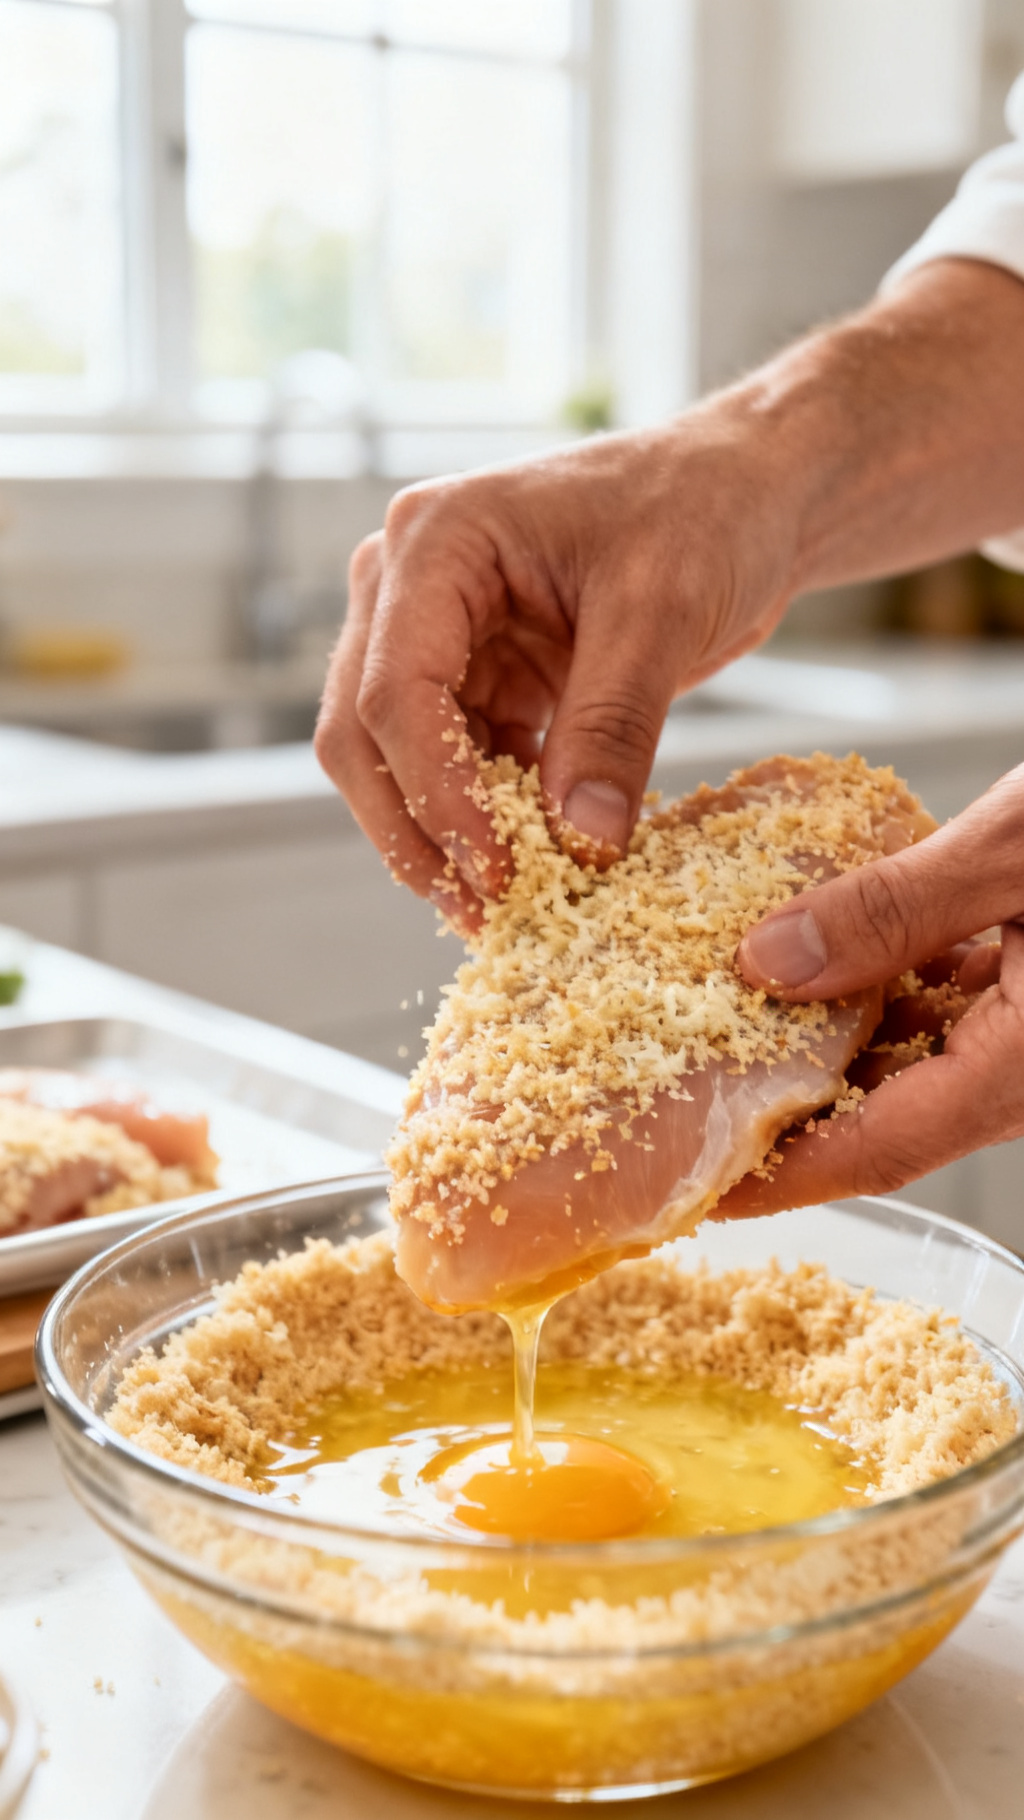
- Pat the chicken breasts dry with paper towels to ensure the coating sticks and the crust crisps well.
- Dip each chicken breast first into the egg mixture, coating completely, then press into the Parmesan-panko mixture, ensuring an even crust on all sides.
- Place the coated chicken breasts on the prepared baking sheet and drizzle olive oil evenly over them; this promotes golden browning.
- Bake uncovered in the preheated oven for 22-25 minutes or until the internal temperature reaches 165°F (74°C) and the crust is golden and crisp; I use an instant-read thermometer for accuracy.
- Remove from oven and let the chicken rest for at least 5 minutes before slicing; this locks in the juices for tender meat.
Ingredient Alternatives & Substitutions
- Replace panko with crushed cornflakes for a different crunchy texture — I’ve tested this and it works well
- Substitute olive oil with melted butter for a richer crust — I recommend using unsalted for better control over saltiness
- Use fresh rosemary instead of Italian seasoning to give a piney, herbaceous note — I find it pairs wonderfully with garlic
- Swap grated Parmesan for Pecorino Romano to add a sharper, saltier bite — I’ve done this when wanting a bolder flavor
- For a gluten-free option, use gluten-free breadcrumbs — I’ve tried this and the crust still crisps nicely
- Replace chicken breasts with boneless thighs for a juicier result — I’ve experimented and enjoyed the extra tenderness
Storage Instructions
- Store leftover chicken in an airtight container in the refrigerator for up to 3 days.
- To reheat, place chicken on a baking sheet and warm in a 350°F oven for 10 minutes to restore crispiness.
- Freeze cooked chicken wrapped tightly in foil and then in a freezer-safe bag for up to 2 months.
- Thaw frozen chicken overnight in the fridge before reheating gently in the oven to preserve texture.
Common Mistakes to Avoid
- Skipping drying the chicken before coating, which I learned leads to a soggy crust.
- Using pre-grated Parmesan, causing less flavor and poor crust texture in my experience.
- Overbaking the chicken, which I’ve found results in dry meat; always monitor with a thermometer.
- Not resting the chicken after baking, which I noticed makes the juices run out when cutting.
- Applying the breadcrumb mixture too thinly, reducing the crunchiness I love.
- Using too much olive oil on top, which can cause the crust to become soggy instead of crisp.
Frequently Asked Questions
Q: Can I use chicken thighs instead of breasts?
Ans: Yes, I’ve used boneless skinless thighs before and they turn out juicier, though the cooking time may be slightly longer.
Q: How do I ensure the crust stays crispy after baking?
Ans: I always bake uncovered and let the chicken rest outside the pan; reheating in the oven instead of the microwave also helps keep crispiness.
Q: Can I make this recipe dairy-free?
Ans: I recommend replacing Parmesan with nutritional yeast and using dairy-free breadcrumbs; I’ve tried it and while it’s different, it’s still tasty.
Conclusion
I’m confident this Garlic Parmesan Crusted Chicken will become one of your go-to dinner recipes because it’s foolproof and flavorful. Give it a try—you’ll love how simple steps deliver such a crispy, juicy result that feels special every time.